I Couldn’t Run Without Hip Pain – Until I Tried These 6 Therapist Moves (Life Changer!)
Mile 3 used to be my breaking point—not because I was tired, but because the sharp, burning pain in my right hip would force me to limp home.
Sound familiar? You love running, but your hip has other plans. Every run starts with hope and ends with frustration. You’ve probably tried everything I did: taking weeks off, stretching for hours, buying new shoes, popping ibuprofen like candy.
Nothing worked, right?
I spent six months dealing with hip pain when running. Six months of shortened runs, missed races, and that awful feeling that my running days might be over. I was 34 years old and felt like my body was falling apart.
But here’s what changed everything: I stopped treating the symptoms and started fixing the real problem.
Why Hip Pain During Running Is So Common (And Misunderstood)

Your hip hurts every time you run. You’re not alone.
Running hip pain affects nearly 30% of runners each year. But here’s what most people don’t know: your hip joint does way more work than you think.
Every time your foot hits the ground, your hip absorbs 2-3 times your body weight. That’s 300-450 pounds of force if you weigh 150 pounds. Your hip has to control that impact while keeping your leg stable and pushing you forward.
Think of your hip like the steering wheel of a car. If it’s loose or weak, everything else goes wrong.
Poor running form makes it worse. When your glutes don’t fire properly, other muscles try to help. Your hip flexors, IT band, and lower back pick up the slack. That’s when hip pain when running starts.
Here’s the part that frustrates runners most: rest doesn’t fix the real problem. You take a week off, feel better, then the pain comes right back on your first run.
Why? Because you never fixed the weak glutes or tight hip flexors that caused the pain.
Studies show that 80% of running injuries are overuse injuries. That means they build up over time from muscle imbalances and poor movement patterns. Your running hip pain didn’t start yesterday. It’s been building for months.
The good news? Once you know what’s actually wrong, you can fix it.
My Journey from Painful Runner to Pain-Free: What Didn’t Work

The pain started in March 2023, right after I increased my weekly mileage from 15 to 25 miles. At first, it was just a dull ache in my right hip after long runs.
I ignored it. Big mistake.
By May, the pain hit me every single run. Mile 3 was my breaking point. Sharp, burning pain would shoot through my hip joint. I’d limp the last two miles home, frustrated and worried.
I tried everything that “worked” for other runners online.
Rest for two weeks. The pain disappeared. I felt great on my first run back, then it returned by mile 4. Back to square one.
Stretched my hip flexors every day. I did the classic runner’s lunge for 30 seconds each leg. The stretching felt good, but my hip still hurt during runs.
Bought new running shoes. I spent $150 on stability shoes, thinking my old shoes were the problem. The pain didn’t care about my fancy new shoes.
Took ibuprofen before runs. This masked the pain for a few miles, but I knew I was just hiding the real problem. Plus, my stomach started hurting from all the pills.
Foam rolled obsessively. I spent 20 minutes every night rolling my IT band, hip flexors, and glutes. It helped with general tightness but didn’t touch the running pain.
By July, I was desperate. I’d gone from running 5-6 times per week to maybe twice. Even those short runs hurt.
That’s when my running buddy Sarah said something that changed everything: “Maybe you should see someone who actually knows what they’re doing.”
I booked an appointment with a physical therapist who specialized in runners. Best decision I made all year.
The 6 Physical Therapy Exercises That Changed Everything
My physical therapist, Dr. Martinez, watched me run on a treadmill and immediately spotted the problem. “Your right glute isn’t firing at all,” she said. “Your hip flexors are doing all the work.”
She gave me six specific physical therapy hip exercises. Not random stretches I found online. Targeted exercises that would retrain my muscles to work properly.
Here’s exactly what fixed my running hip pain:
Exercise 1: Clamshells with Resistance Band

Why this helps: Your glute medius (side butt muscle) keeps your hip stable when you run. Most runners have a weak glute medius, which causes the hip to drop and creates pain.
How to do it:
- Lie on your side with knees bent 90 degrees
- Put a resistance band around your knees
- Keep your feet together and lift your top knee up
- Hold for 2 seconds at the top
- Lower slowly and repeat
Sets/Reps: 2 sets of 15 each side
Common mistakes: Don’t let your hips roll backward. Keep your body in a straight line. Don’t use a band that’s too easy – you should feel it working by rep 10.
Progression: Start with a light band. Move to medium resistance after 2 weeks. Advanced: Hold the top position for 5 seconds.
Exercise 2: Single-Leg Glute Bridges
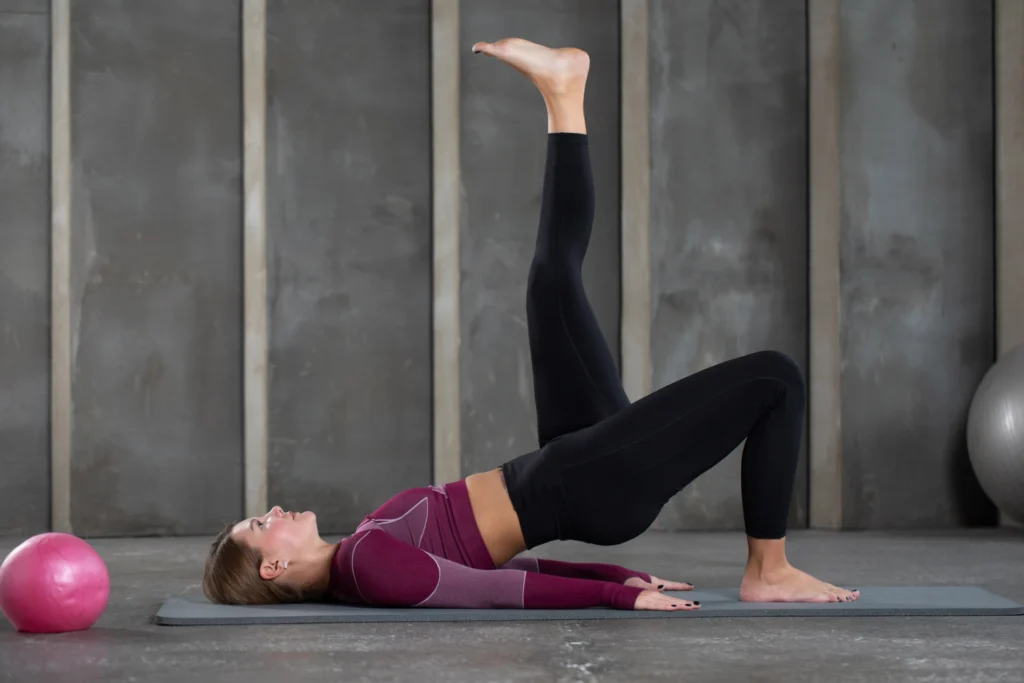
Why this helps: This exercise turns on your glutes and teaches them to work while your core stays stable. It’s like a practice run for the stability you need when running.
How to do it:
- Lie on your back, knees bent
- Lift one leg straight up
- Push through your heel to lift your hips up
- Squeeze your glute at the top
- Lower slowly and repeat
Sets/Reps: 2 sets of 12 each leg
Common mistakes: Don’t arch your back. Don’t let your hips sag or twist. Keep your core tight the whole time.
Progression: Start with both feet down. Progress to single-leg. Advanced: Hold a weight on your hips.
Exercise 3: Hip Flexor Stretches (Couch Stretch)

Why this helps: Tight hip flexors pull on your hip joint and change how you run. This stretch specifically targets the deep hip flexors that get tight from sitting.
How to do it:
- Put your back foot up on a couch or chair
- Step your front foot forward into a lunge
- Keep your torso upright and push your hips forward
- You should feel a deep stretch in the front of your back hip
- Hold and breathe deeply
Sets/Reps: Hold for 60 seconds each side, 2 times
Common mistakes: Don’t lean forward. Keep your chest up. Don’t bounce – just hold steady.
Progression: Start with your back foot on the ground. Progress to couch height. Advanced: Add a gentle twist toward your front leg.
Exercise 4: Side-Lying Hip Abduction
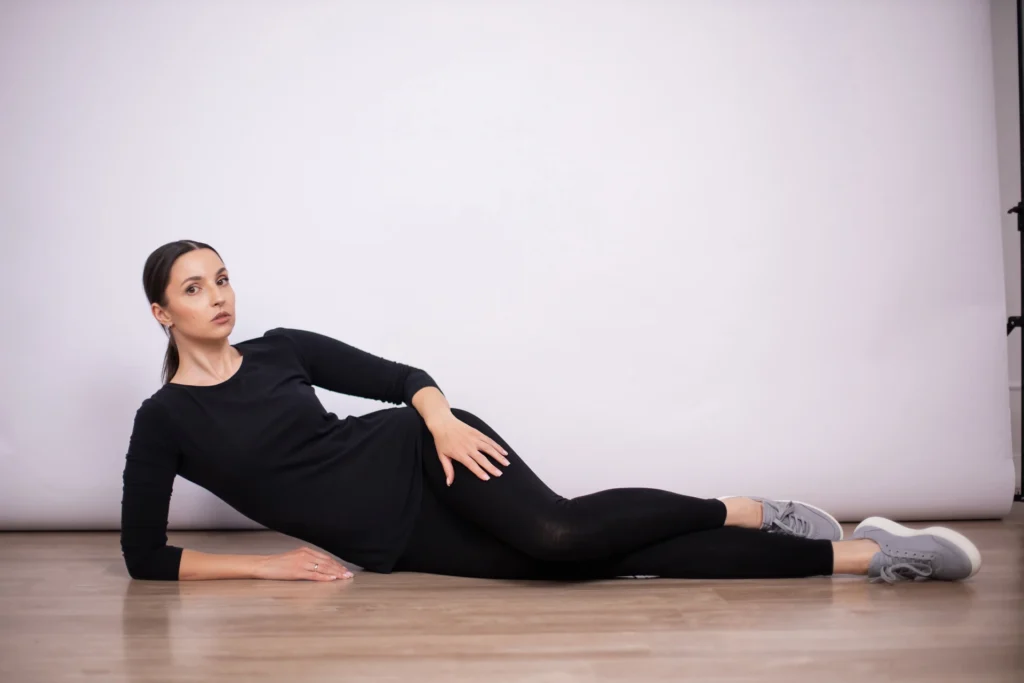
Why this helps: This hip strengthening for runners exercise builds the muscles that keep your leg from caving inward when you run. It’s simple but incredibly effective.
How to do it:
- Lie on your side, bottom leg bent for stability
- Keep your top leg straight
- Lift your top leg up toward the ceiling
- Hold for 1 second at the top
- Lower slowly and repeat
Sets/Reps: 2 sets of 15 each side
Common mistakes: Don’t let your leg drift forward. Keep it in line with your body. Don’t use momentum – control the movement.
Progression: Start with no weight. Add ankle weights after 2 weeks. Advanced: Add resistance band around your ankles.
Exercise 5: Dead Bug Core Strengthening
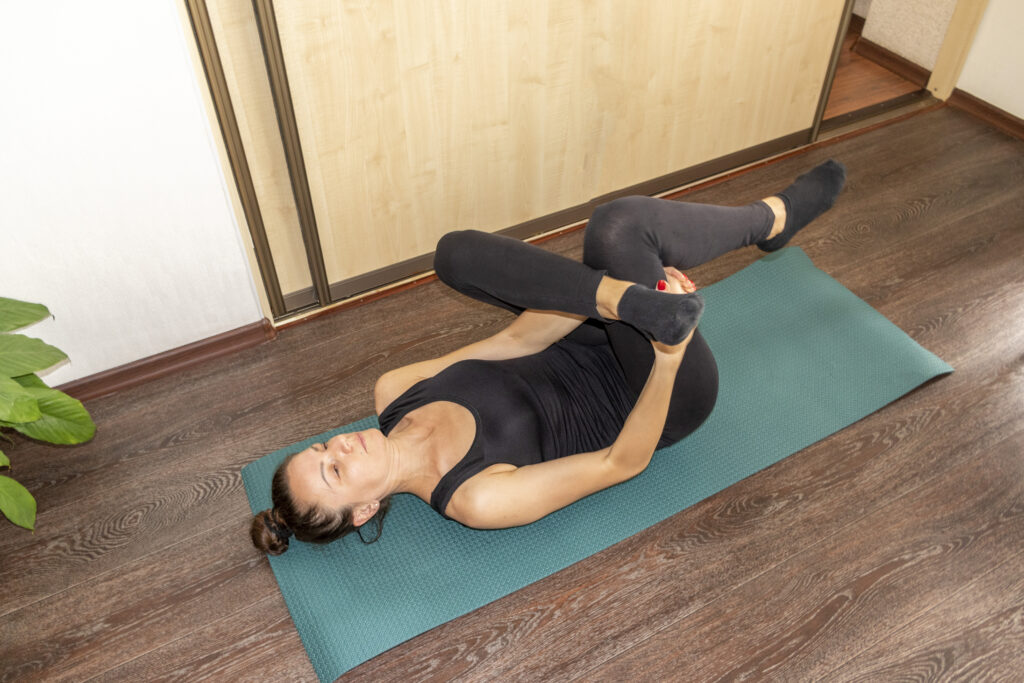
Why this helps: Your core and hips work together when you run. A weak core makes your hips work harder, which causes pain. This exercise teaches them to work as a team.
How to do it:
- Lie on your back, arms straight up
- Bring knees up to 90 degrees
- Slowly lower opposite arm and leg toward the floor
- Don’t let your lower back arch off the ground
- Return to start and switch sides
Sets/Reps: 2 sets of 10 each side
Common mistakes: Don’t hold your breath. Don’t let your back arch. Move slowly and stay in control.
Progression: Start with just arms or just legs. Progress to opposite arm/leg. Advanced: Hold light weights in your hands.
Exercise 6: Monster Walks with Resistance Band

Why this helps: This exercise builds hip stability in multiple directions while you’re moving. It’s the closest thing to running without actually running.
How to do it:
- Put a resistance band around your ankles
- Squat down slightly and keep tension in the band
- Step sideways, keeping your knees apart
- Don’t let the band pull your knees together
- Take 10 steps one way, then 10 steps back
Sets/Reps: 2 sets of 10 steps each direction
Common mistakes: Don’t stand up straight – stay in a mini squat. Don’t let your knees cave in. Keep constant tension in the band.
Progression: Start with a light band. Progress to medium resistance. Advanced: Walk forward and backward too.
These six exercises target every muscle that supports your hip during running. They’re not flashy, but they work.
How to Integrate These Exercises Into Your Running Routine

You don’t need to spend hours doing these exercises. Here’s exactly how to fit them into your life without giving up running time.
Do them 3-4 times per week. More isn’t always better. Your muscles need time to recover and get stronger.
Timing matters. Do these exercises on your easy run days or rest days. Don’t do them right before hard workouts or long runs. Your muscles will be tired and you won’t run as well.
I do mine on Tuesday, Thursday, and Saturday mornings. Takes about 15 minutes total.
Start with the basic versions. Don’t jump to advanced progressions right away. Master the movement first, then make it harder.
Week 1-2: Learn the exercises, focus on form Week 3-4: Increase reps or resistance slightly
Week 5+: Add progressions as you get stronger
Pre-run vs. post-run: These are strengthening exercises, not warm-ups. Do them after your run or on separate days. Before running, stick to dynamic warm-ups like leg swings and high knees.
Track your progress. I kept a simple note in my phone. “Week 1: Clamshells with light band, 15 reps felt hard.” “Week 4: Medium band, 15 reps felt easy.” Seeing progress kept me motivated.
As you get stronger, you can reduce frequency. After 8 weeks of consistent work, I dropped to 2 times per week for maintenance. But I never stopped completely. Prevention is easier than fixing the problem again.
Listen to your body. If you’re sore from the exercises, take an extra rest day. If something hurts (not just works hard), stop and check your form.
The key is consistency, not perfection. Do something rather than nothing.
When to Expect Results (And Red Flags to Watch For)

Here’s the honest truth about recovery: it takes time, but you’ll notice changes before the pain goes away completely.
Week 1-2: You won’t feel much difference in your running yet. The exercises might make your glutes sore. That’s normal – they’re waking up muscles that have been sleeping.
Week 3-4: This is when I started noticing changes. My hip didn’t hurt as early in my runs. Instead of pain at mile 3, it started at mile 5. Small progress, but progress.
Week 6-8: The big breakthrough happens here. I ran my first pain-free 6-mile run in months. The exercises were getting easier, and my running was getting better.
Signs the exercises are working:
- You can run further before pain starts
- The pain is less sharp, more like a dull ache
- Your glutes feel stronger and more “switched on”
- The exercises themselves get easier
Red flags – see a professional immediately:
- Sharp, shooting pain down your leg
- Pain that wakes you up at night
- Pain when walking or climbing stairs
- Numbness or tingling anywhere
- Pain that gets worse instead of better after 4 weeks
Don’t ignore these warning signs. Some running hip pain needs medical attention, not just exercises.
Be patient with yourself. I wanted to be pain-free after one week. That’s not how healing works. Your muscles and movement patterns took months or years to get messed up. They need time to get better.
The running hip pain exercises work if you stick with them. But they’re not magic. Consistency beats intensity every time.
If you’re not seeing any improvement after 6 weeks of consistent work, see a physical therapist. You might need hands-on treatment or different exercises for your specific problem.


