You Won’t Believe This 90-Year-Old’s Shockingly Simple Daily Exercise Routine That’s Going Viral
What if just 5 minutes of daily exercise could reduce your fall risk by 46%, extend your lifespan, and help you maintain independence into your 90s? Currently, 31% of adults worldwide don’t meet recommended physical activity levels, facing a 20-30% increased risk of death.
Most seniors feel overwhelmed by complicated fitness programs or worry they’re “too old.” This guide reveals 11 evidence-based exercises validated by physical therapists—a simple daily exercise routine for seniors focusing on balance exercises, fall prevention, and strength training for elderly adults.
You’ll learn how to perform each safely at home with scientific proof these exercises extend lifespan, all in just 5-10 minutes daily.
🧍♂️ Independence Tracker
Just 5 minutes of daily exercise can reduce fall risk by 46%. Select your level to build today’s routine.
Why This 5-Minute Routine Changes Everything for Seniors
You want to stay independent. You want to play with your grandkids without getting tired. You want to walk through the grocery store without worrying about falling.

Here’s the truth: Five minutes a day can change your life.
Senior fitness programs reduce falls by 46%. That’s almost half. And they save you $945 every year in healthcare costs. Exercise also cuts down heart problems and helps your heart work better as you age.
But here’s what most people get wrong. They think they need to spend hours at the gym or do intense workouts. That’s not true. What works is showing up every single day for just a few minutes.
Exercise 1 – Posture Correction Exercises (3 Variations)
Bad posture sneaks up on you. Years of sitting, looking down at phones, and slouching take their toll. Your shoulders round forward. Your head juts out. And suddenly, everything hurts.
Good posture isn’t about looking confident. It’s about breathing better and staying balanced. When your head sits over your shoulders correctly, you won’t tip forward. That prevents falls.
Ball Stretch Against Wall
Grab a soccer ball or beach ball. Don’t inflate it all the way. You want it slightly squishy. Stand with your back to a wall. Place the ball between your shoulder blades and the wall.
Lean back gently into the ball. You should feel a stretch across your chest. Your shoulders will naturally pull back. Hold this for 10-20 seconds. The ball supports you while your tight chest muscles release.
Breathe slowly while you hold the position. In through your nose, out through your mouth. Do this 3-5 times.
Chin Tuck with Shoulder Blade Squeezes
Stand or sit up tall. Pull your chin straight back, like you’re making a double chin. Don’t tilt your head down. Just slide it back.
At the same time, squeeze your shoulder blades together. Imagine holding a pencil between them. Hold for 5 seconds. Release. Do this 10 times.
This exercise fixes “forward head posture.” That’s when your head sticks out in front of your body. It causes neck pain and throws off your balance.
Wall Angels for Shoulder Mobility
Stand with your back flat against a wall. Press your lower back, shoulders, and head against the wall. Bend your elbows to 90 degrees. Your arms should look like goal posts.
Slowly slide your arms up the wall, keeping everything in contact. Go as high as you can without your lower back arching off the wall. Then slide back down. Do 10 repetitions.
This feels hard at first. Your shoulders might be too tight to keep everything touching the wall. That’s okay. Go as far as you can. Your range will improve.
Why This Matters
Good posture opens up your lungs. You can breathe deeper. It also shifts your center of gravity to the right place. When you stand aligned, you won’t lean or tip. That’s huge for preventing falls.
Plus, standing tall makes you feel better. There’s research showing posture affects mood. When you slouch, you feel tired and down. Stand tall, and your energy lifts.
Safety First: If you have weak bones (osteoporosis), don’t bend backward too far. It can cause compression fractures in your spine. Keep the stretches gentle.
Progression Plan: Start with just the chin tucks for the first week. Once those feel easy, add the shoulder squeezes. Wall angels are the hardest, so save them for week three or four.
Daily Habit: Do these after you’ve been sitting for a while. They counteract the slouching from watching TV or reading. First thing in the morning works great too.
Equipment Tip: A partially deflated soccer ball or beach ball works best. Basketballs are too firm and won’t mold to your back. You can also use a folded towel if you don’t have a ball.
Modification: Can’t get your head to touch the wall during wall angels? That’s normal if you have tight shoulders. Just go as far as you comfortably can. Your flexibility will improve over time. Don’t force it.
Exercise 2 – Squats for Leg Strength (3 Variations)
Your leg strength determines your independence. Strong legs mean you can stand up from the toilet. Get out of a car. Climb stairs. Walk through the store.
Weak legs? You need help with all of those things. That’s why squats are the number one exercise for staying independent.
Sit-to-Stand from Chair (Beginners)
Find a sturdy chair. No wheels. If you feel unsteady, use a chair with arms. Sit toward the front edge.
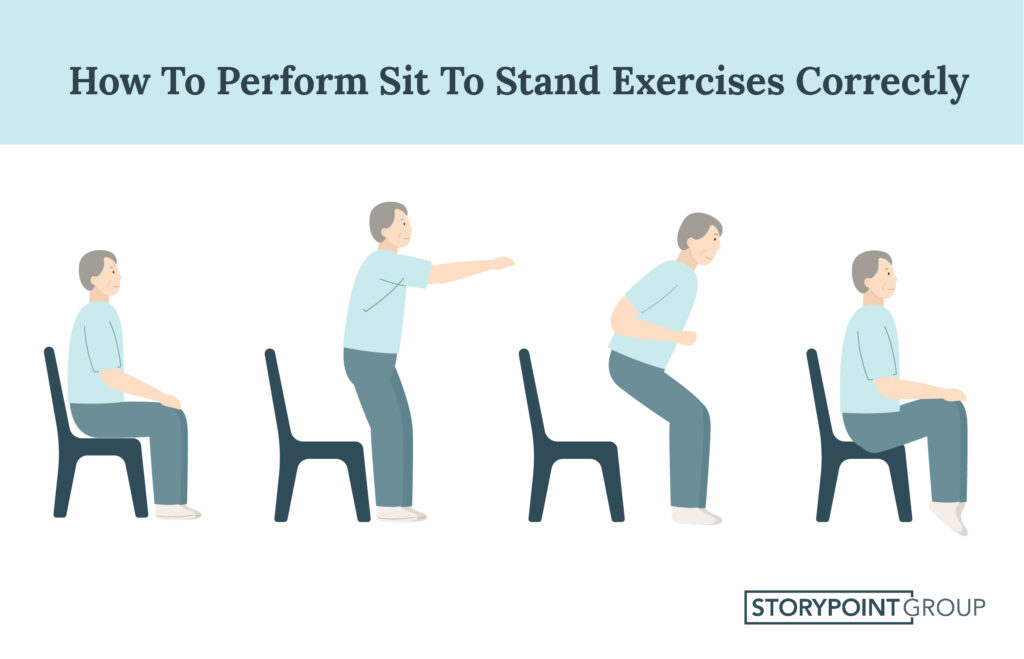
Place your feet flat on the floor, hip-width apart. Lean forward slightly. Look up at the ceiling. This keeps your chest lifted and helps you stand.
Push through your heels and stand up. Don’t use your hands if possible. Lower back down slowly. That’s one repetition.
Start with 5 repetitions. Work up to 10, then 15, then 20. When you can do 20 without holding on, you’re ready for the next variation.
Wall Ball Squats (Intermediate)
Place a soccer ball or basketball between your lower back and the wall. Stand with feet shoulder-width apart, about a foot away from the wall.
Lean back into the ball. Lower down like you’re sitting in a chair. The ball rolls with you. Go down until your thighs are parallel to the floor if you can. Push back up.
The ball guides you and supports your back. It also keeps you from leaning too far forward. Do 10-15 repetitions.
Posture Squats with Arms Overhead (Advanced)
Stand with feet shoulder-width apart. Raise your arms straight overhead. Keep looking up at your hands.
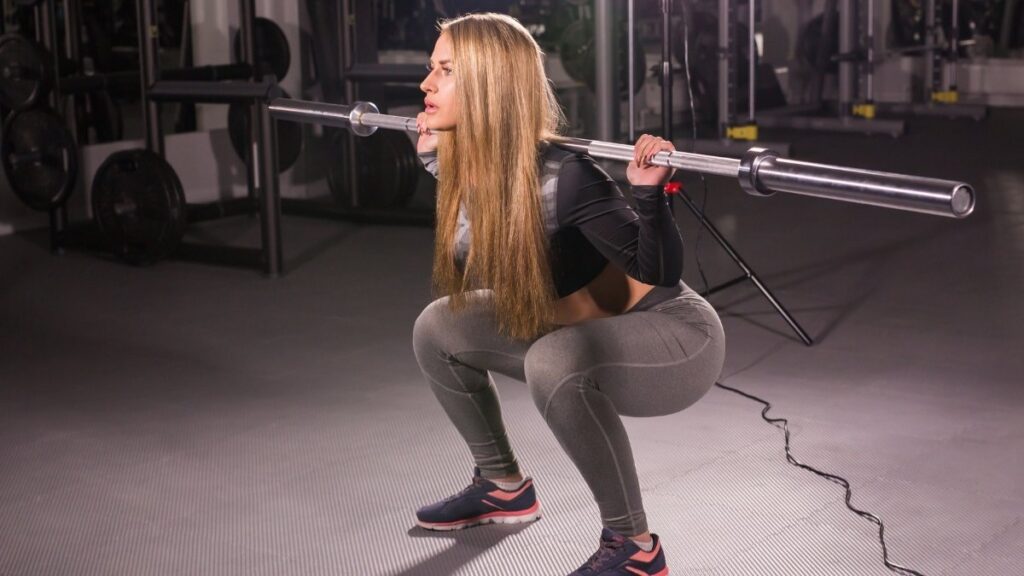
Lower down into a squat. Your arms stay up the whole time. This is hard because it challenges your balance and shoulder flexibility.
Go as deep as you can while keeping your chest up and arms overhead. Push back up. Start with 5 and work up to 15.
Why Strong Legs Matter
Leg strength is the biggest predictor of how long you’ll stay independent. When researchers track older adults, the ones with strong legs avoid nursing homes longer. They need less help with daily tasks. They stay mobile.
Your legs are also your backup system. If you trip, strong legs can catch you. They react fast enough to prevent a fall. Weak legs? You’re going down.
Plus, leg exercises burn energy and keep your weight healthy. They’re the biggest muscles in your body, so they use the most fuel.
Common Mistake: Leaning too far forward makes squats hard on your knees. Instead, keep your chest lifted and look up. This keeps your weight balanced.
Knee Safety: If you have knee pain, don’t go down as far. Even quarter squats (barely bending) build strength. You don’t have to touch your butt to your heels.
Balance Aid: Use a countertop or the back of a heavy chair for support. Place your fingertips on it lightly. As you get stronger, use less support.
Breathing: Exhale when you stand up. That’s the hard part, so breathing out gives you power. Inhale on the way down.
Progression: Once you can do 15 chair stands without using your hands, try the wall ball squats. After 15 of those feel easy, attempt the overhead arm version.
Hand Position: If you need to use your hands during chair stands, that’s fine. Push on your thighs or the chair arms. As you get stronger, use your hands less and less.
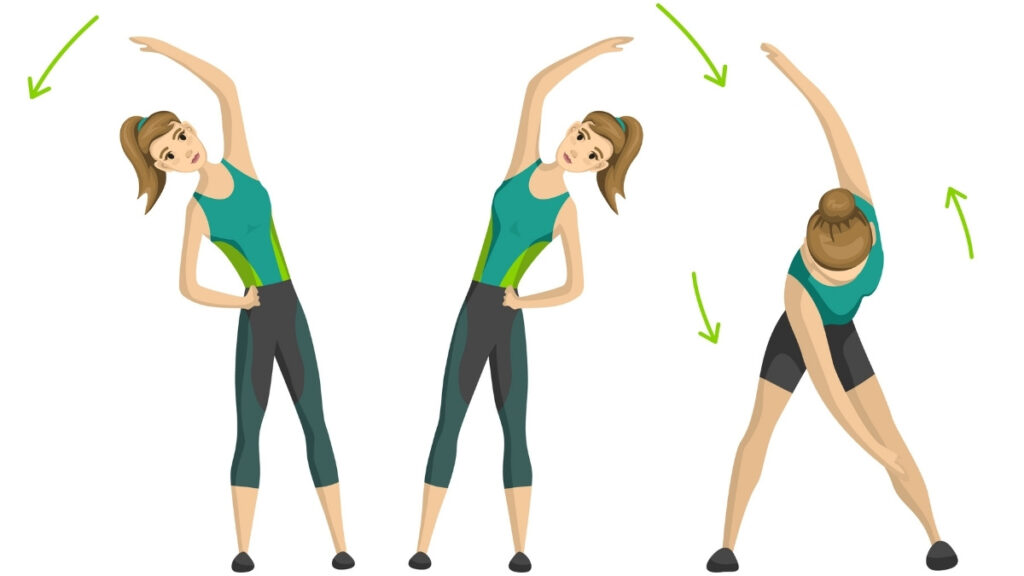
Exercise 3 – Lateral Movement for Balance
Most people only move forward and backward. Walking, sitting, standing. All front-to-back movements. But falls happen when you step sideways or pivot. That’s why you need side-to-side practice.
Lateral movement (that’s the fancy term for sideways) trains your body in the frontal plane. It strengthens your hip muscles and improves your balance in all directions.
Side-to-Side Stepping
Stand at your kitchen counter or a sturdy table. Hold the edge with both hands. This gives you support.
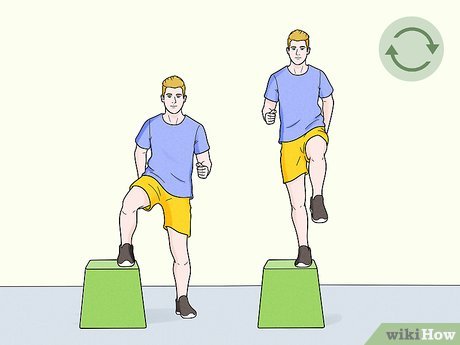
Step your right foot out to the side. About 12 inches. Then bring your left foot over to meet it. Step left foot out to the side. Bring right foot over.
Go back and forth like this. Take 10 steps in each direction. Move slowly and controlled. This isn’t a race.
Keep your chest up and your core tight. Don’t lean over or let your upper body sway.
Hip Abduction (Leg Lifts to the Side)
Stand behind a sturdy chair. Hold the chair back with both hands. Stand on your left leg.
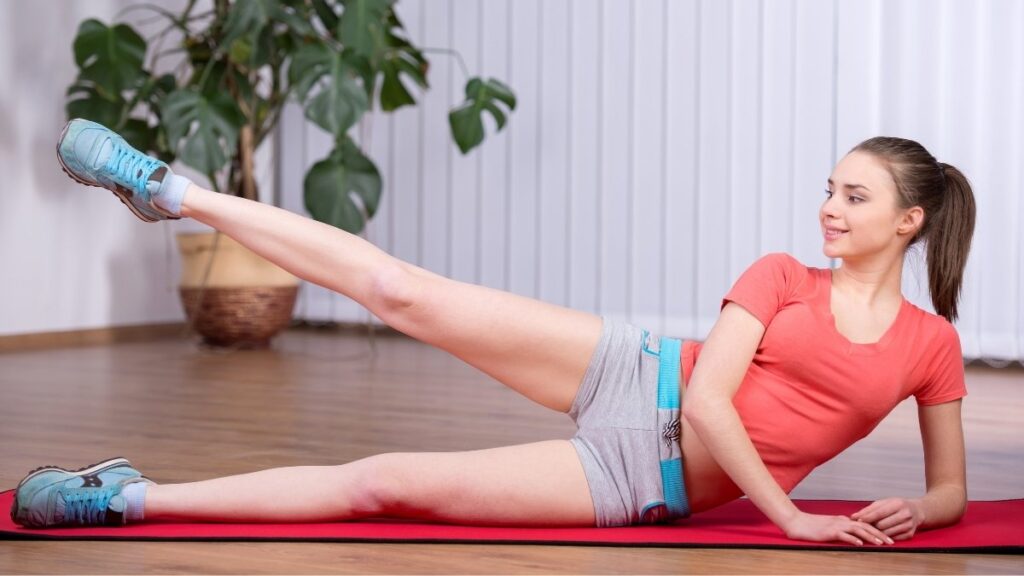
Lift your right leg straight out to the side. Only go 6-12 inches off the ground. Don’t lean over to the left. Keep your body upright.
Hold for 2 seconds at the top. Lower slowly. Do 10-15 repetitions. Switch legs.
This targets your hip abductors. These muscles stabilize you when you walk. They prevent your pelvis from dropping when you stand on one leg.
Advanced: Grapevine Steps
Only try this when the basic side steps feel easy. Stand at the counter for support.
Step right foot to the right. Cross left foot behind right. Step right foot to the right again. Cross left foot in front of right. That’s the pattern.
It’s like a dance move. The grapevine or karaoke step. It twists your hips and challenges your coordination. Do 5-10 in each direction.
Why Sideways Movement Prevents Falls
Think about when people fall. They’re reaching for something sideways. Or stepping off a curb at an angle. Or turning around too fast.
Your body needs practice moving in all directions. When you only go forward and backward, your side-to-side stability gets weak. Then one unexpected sideways step takes you down.
Lateral training also strengthens your outer hip muscles. These keep your pelvis level when you walk. When they’re weak, you waddle or limp. That throws off your whole gait.
Hip Replacement Caution: If you’ve had a hip replacement, don’t cross your legs past the center of your body. Keep the movements controlled and stop before any crossing happens. Check with your doctor about what’s safe.
Progression Plan: Start with simple side steps, holding the counter with both hands. After a week, try holding with just one hand. Then progress to the hip lifts. Save grapevine steps for when you feel really stable.
Daily Integration: Practice during TV commercials. Or while you’re waiting for the microwave to beep. Just 30-60 seconds here and there adds up.
Balance Check: If you feel unsteady at any point, keep both hands on the counter. There’s no shame in using support. That’s what it’s there for.
Footwear: Wear shoes with good traction. No socks on slippery floors. Non-slip shoes or sneakers work best. This gives you confidence and prevents actual slipping.
Surface Awareness: Clear the floor around you before starting. No rugs, cords, or clutter. You need space to step freely.
Exercise 4 – Ankle Strengthening (Heel and Toe Raises)
Your ankles are your foundation. Everything sits on top of them. When your ankles get weak, your whole balance system suffers.
Ankle strength also drops with age. The small muscles and tendons get stiff. Your ability to sense where your foot is (proprioception) fades. But you can rebuild it.
Calf Raises (Up on Tiptoes)
Stand behind a sturdy chair. Hold the chair back lightly with both hands. You just need fingertip support, not a death grip.
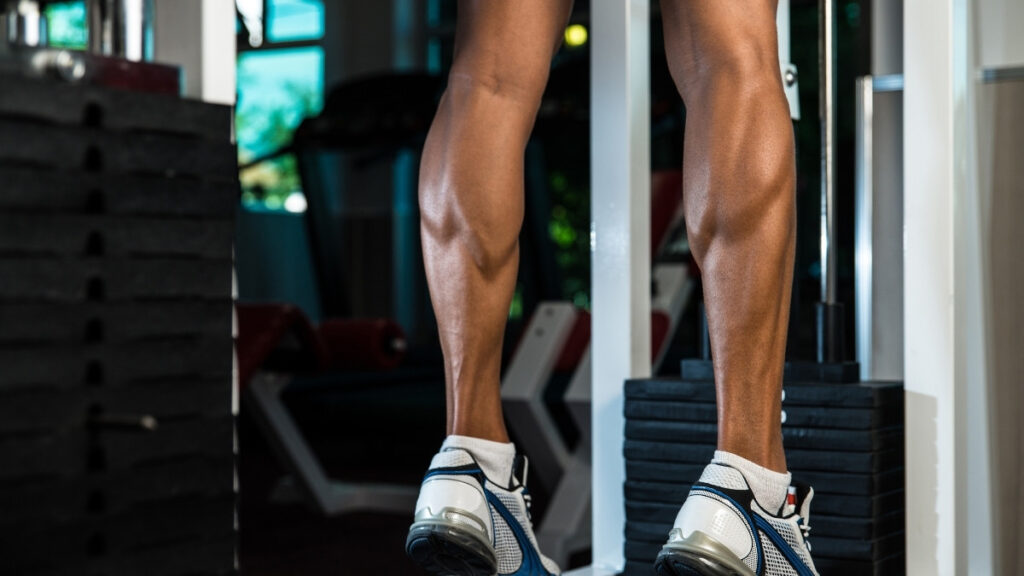
Rise up on your tiptoes. Get as high as you can. Hold for 2 seconds at the top. Feel your calf muscles working.
Lower back down slowly. Control matters more than speed. Do 10-15 repetitions.
Your calves do a lot of work when you walk. They push you forward with each step. Strong calves mean easier, more efficient walking.
Toe Raises (Lift Front of Foot)
Stay at the chair. This time, rock back on your heels. Lift the front of your feet up toward the ceiling.
Your toes point up. You should feel this in your shins. Hold for 2 seconds. Lower down. Do 10-15 repetitions.
These muscles (the anterior tibialis, if you want the technical name) get ignored by most people. But they’re crucial. They lift your toes when you walk. That prevents tripping over small bumps or carpet edges.
Why Ankle Stability Prevents Falls
Your ankles make hundreds of tiny adjustments every time you stand. They sense the surface under you. They compensate when you shift weight. They catch you when you wobble.
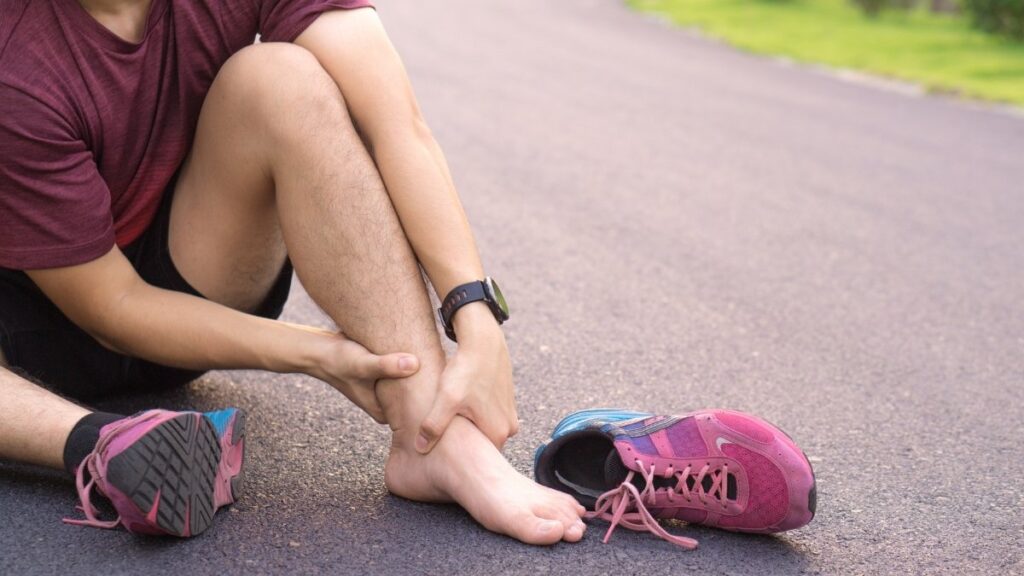
Weak ankles can’t react fast enough. You step on an uneven sidewalk and your ankle doesn’t adjust. Down you go.
Ankle strength and balance go hand-in-hand. Studies show ankle exercises significantly cut fall risk. They improve your proprioception. That’s your body’s GPS system. It tells your brain where your feet are without you looking down.
Strong ankles also prevent ankle sprains. When you step wrong, strong muscles can stabilize the joint before it rolls too far.
Stability Aid: Always use a chair or countertop when you first start. Even if you think you don’t need it. Better safe than sorry. After a few weeks, you can try reducing the support.
Neuropathy Consideration: If you have reduced feeling in your feet (neuropathy from diabetes, for example), be extra cautious. You might not sense when you’re losing balance. Keep using support longer.
Progression: Once regular calf raises feel easy (you can do 20 in a row), try single-leg calf raises. Stand on one foot and rise up. This is an advanced challenge that really builds strength.
Throughout the Day: Do these while brushing your teeth. Or waiting for your coffee to brew. Two minutes here, two minutes there. It adds up fast.
Ankle Mobility: Before starting, circle your ankles 10 times in each direction. This warms up the joint and increases your range of motion. Better mobility means better strength gains.
Pain Warning: These should feel like you’re working the muscles. Not painful in the joints. If your ankles hurt sharply, stop and check with your doctor. You might have arthritis that needs attention first.
Exercise 5 – Grip Strength Training (The Longevity Exercise)
Here’s something that sounds too simple to matter: How hard you can squeeze your hand predicts how long you’ll live.
Researchers studied thousands of people. They found that people with stronger grip strength had healthier hearts, sharper brains, and lived longer. Grip strength slows down the aging process at a cellular level.
It’s not magic. It’s a sign. When your grip stays strong, it means your whole body is staying strong. Your nervous system works well. Your muscles have good tone. Your nutrition is adequate.
That’s why grip training isn’t just about opening jars (though that’s nice too). It’s about keeping your whole system young.
Soft Ball Squeezing
Get a squishy ball. A stress ball, tennis ball, or soft foam ball works. Hold it in one hand.
Squeeze as hard as you can without pain. Hold for 5 seconds. Release. Do this for 1-2 minutes on each hand.
You don’t need to squeeze until your hand cramps. Firm pressure for a few seconds is enough. Rest between squeezes if you need to.
Finger-to-Thumb Touches
Hold one hand up in front of you. Touch your thumb to your index finger. Then thumb to middle finger. Ring finger. Pinky.
Go backward: Pinky to thumb, ring to thumb, middle to thumb, index to thumb. That’s one cycle. Do 10 complete cycles on each hand.
This works each finger individually. Most people have strong thumbs and index fingers but weak ring and pinky fingers. This balances everything out.
It also improves coordination and fine motor skills. Better dexterity means easier buttoning, writing, and using utensils.
Wrist Roller Exercise (Advanced)
You can buy a wrist roller or make one. It’s a stick with a rope attached and a weight hanging from the rope.
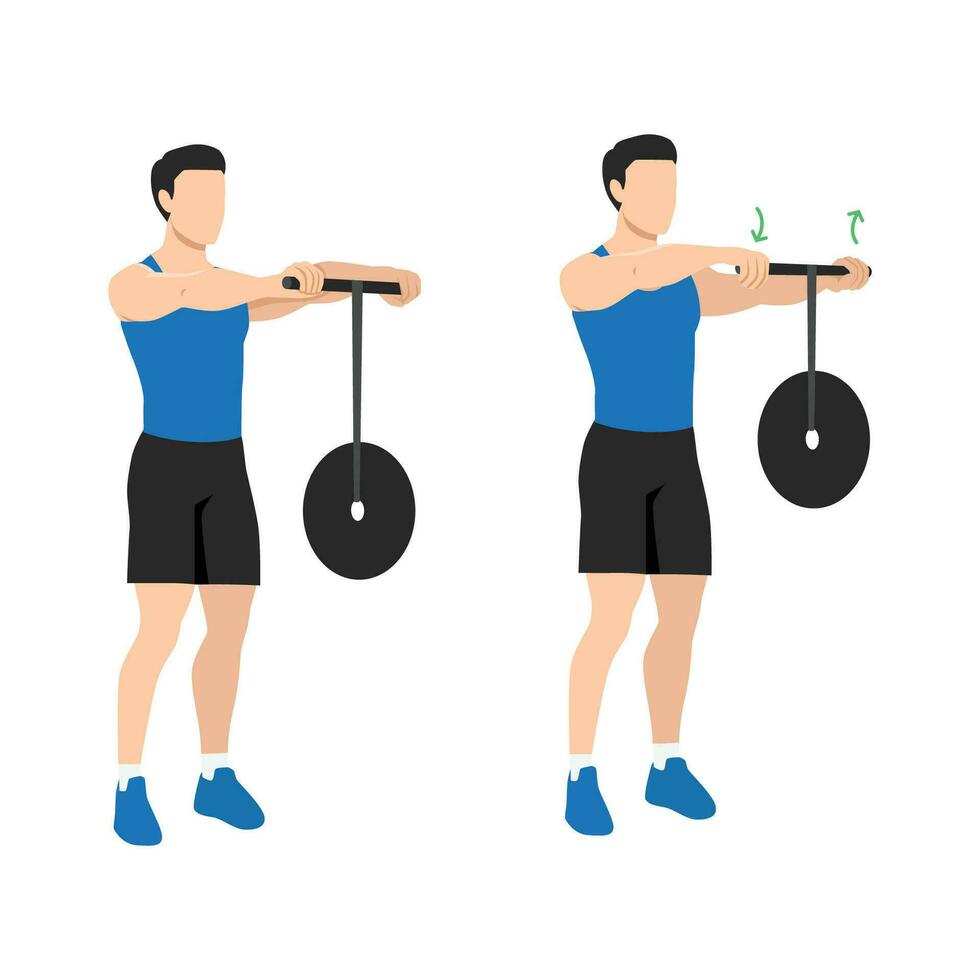
Hold the stick out in front of you with both hands. Arms extended. Roll the stick to wind up the rope and lift the weight. Then reverse to lower it.
This builds serious forearm and grip strength. Start with just 1-2 pounds. The burn in your forearms tells you it’s working.
You can vary the angles. Try it with elbows bent. Overhand grip. Underhand grip. Each variation hits the muscles differently.
Adjustable Grip Strengtheners
Hand grippers are cheap and effective. Get one with adjustable resistance. Start light (10-20 pounds of resistance) and increase over time.

Squeeze it closed. Hold for 2 seconds. Release. Do 10-15 repetitions per hand.
The beauty of these is you can use them anywhere. While watching TV. During phone calls. In the car while waiting (not while driving!).
The Research Connection
Grip strength isn’t just correlated with health. It’s a vital sign. Doctors now measure it like they measure blood pressure or heart rate.
People with better grip strength have stronger immune systems. Their bodies age more slowly at the cellular level. Inflammation stays lower. Muscle mass stays higher.
It predicts your risk of disability, hospitalization, and death better than many blood tests. A simple hand squeeze tells doctors a lot about your overall health.
Studies show that improving grip strength improves these outcomes. It’s not just a marker. It’s modifiable. You can make it better and improve your health.
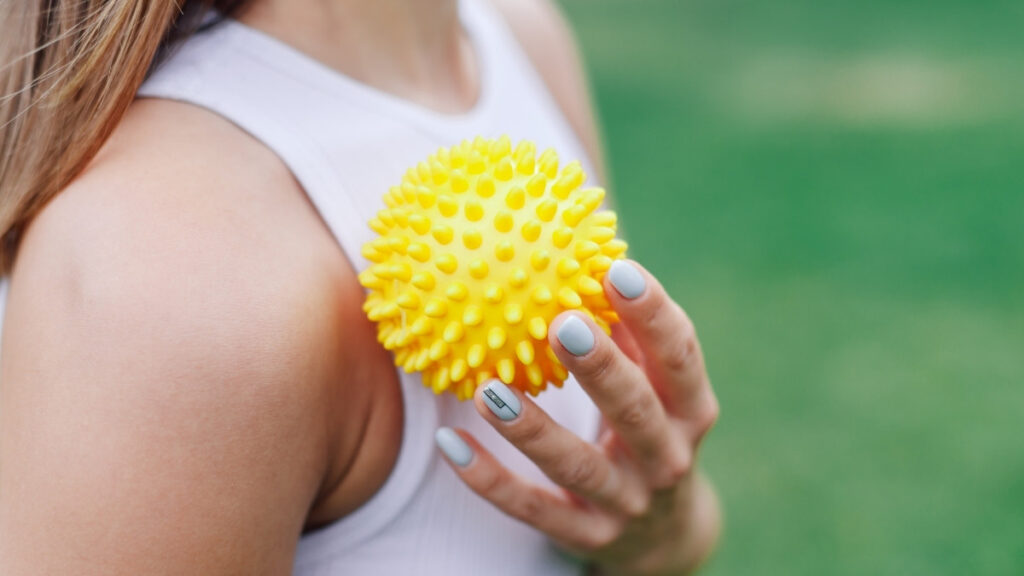
Arthritis-Friendly: If you have arthritis in your hands, start with the softest ball you can find. Therapy putty works well too. You can also use spiky massage balls. They provide sensory feedback if you have neuropathy.
Frequency: You can do grip work multiple times daily. Your hand muscles recover quickly. But stop before your hand gets fatigued or painful. Little and often beats one long session.
Functional Benefit: Most people notice easier jar opening within 2-3 weeks. Door handles get easier. Carrying grocery bags doesn’t strain your hands. These small wins feel great.
Equipment Options: You don’t need fancy gear. Therapy putty, hand grippers, rubber balls, or even a rolled-up towel to squeeze all work. Pick what you have or what you enjoy using.
Progression: Don’t increase resistance too fast. Your tendons need time to adapt. Add resistance every 2-3 weeks, not every few days. Slow and steady prevents injuries.
Each Finger Matters: Don’t just squeeze with your whole hand. Work on individual finger strength too. Your pinky and ring finger are usually the weakest. Touch them to your thumb with resistance (like pushing through thick putty) to build them up.
Thumb Strength: Your thumb does half the work of your whole hand. Practice thumb-to-finger touches with resistance. This keeps your thumb strong and prevents arthritis pain.
6 Additional Essential Exercises for Complete Senior Fitness
The five exercises you just learned form your foundation. But your body needs more variety for complete fitness. These next six exercises fill in the gaps.
Together, all 11 exercises cover everything: balance, strength, flexibility, cardio, and mobility. You don’t have to do all 11 every day. But rotate through them during the week. That way, you hit every system your body needs.
Think of it like eating. You wouldn’t eat just protein. You need vegetables, fruits, grains, and healthy fats too. Your exercise routine works the same way. Variety keeps your body well-rounded and resilient.
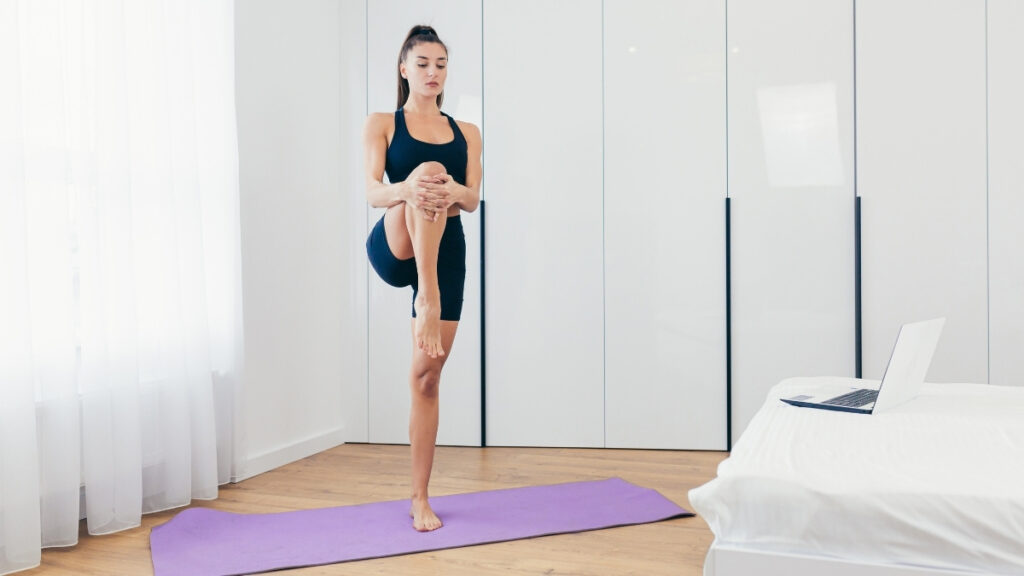
Exercise 6 – Single-Leg Balance Stands
Balance might predict how long you’ll live. That sounds dramatic, but research backs it up. People who can stand on one leg for at least 10 seconds have much lower death rates than those who can’t.
Why? Balance requires your muscles, nerves, vision, and inner ear all working together. When these systems function well, your whole body is healthy. When they fail, it’s a sign of decline.
And remember: 1 in 4 adults over 65 fall each year. Single-leg balance training directly attacks this problem.
How to Do It
Stand behind a sturdy chair. Place your fingertips lightly on the chair back. You’re not leaning on it. Just touching for security.
Lift your right foot slightly off the ground. Just 3-6 inches. Don’t kick it behind you or swing it forward. Keep it close to your standing leg.
Hold this position for 10 seconds. Keep your eyes open and look straight ahead at something that’s not moving. A spot on the wall works well.
Lower your foot. Rest for a moment. Now do the left leg. Repeat 3 times on each side.
Why It Works
When you balance on one leg, your ankle makes constant tiny adjustments. Your core muscles fire to keep you upright. Your brain processes information from your eyes, inner ear, and position sensors in your joints.
This is proprioception training. Your body learns to sense where it is in space. This skill fades with age if you don’t practice it. But it comes back with training.
Strong single-leg balance also helps with walking. Every step is actually a split second of single-leg balance. When you can hold it for 30 seconds, walking feels easier and more stable.
Progression Path
Week one: Hold the chair with both hands. 10 seconds per leg. Week two: Use just fingertips on the chair. Work up to 20 seconds. Week three: Try hands-free for 10 seconds. Keep the chair close just in case.
Week four: Add a challenge. Close your eyes for 5 seconds while balancing. This removes your visual input and forces your other balance systems to work harder.
Start Safe: Keep fingertips on the chair back for the first week, even if you think you don’t need it. Overconfidence causes falls. Build slowly.
Vision Training: Once you can stand stable with eyes open, try closing your eyes for 5 seconds. This is a neurological challenge. Your brain has to rely on feel instead of sight. It’s hard but incredibly good for you.
Daily Practice: Do this while waiting for coffee to brew. During phone calls. In the checkout line. Any time you’re standing still anyway. Make it a habit attached to something you already do.
Surface Variation: Once you’re stable on solid ground, progress to standing on a folded towel or a foam pad. The unstable surface makes your ankle work much harder.
Warning Signs: If you feel dizzy or severely wobbly, you need more support. This could also signal an inner ear problem. Mention it to your doctor.
Both Sides: One leg is always weaker. That’s normal. Give your weaker side a few extra repetitions to balance things out. But don’t skip the strong side.
Exercise 7 – Full-Body Flexibility Routine
Stiff joints make everything harder. Getting out of bed. Bending to tie your shoes. Reaching into a high cabinet. Flexibility keeps these daily tasks easy.
Tight hamstrings pull on your lower back and cause pain. Tight hip flexors do the same. Shoulder stiffness makes it hard to wash your hair or reach behind you. A good stretching routine fixes all of this.
Hamstring Stretch
Sit on the front edge of a sturdy chair. Extend your right leg straight out in front, heel on the floor. Your left leg stays bent normally.
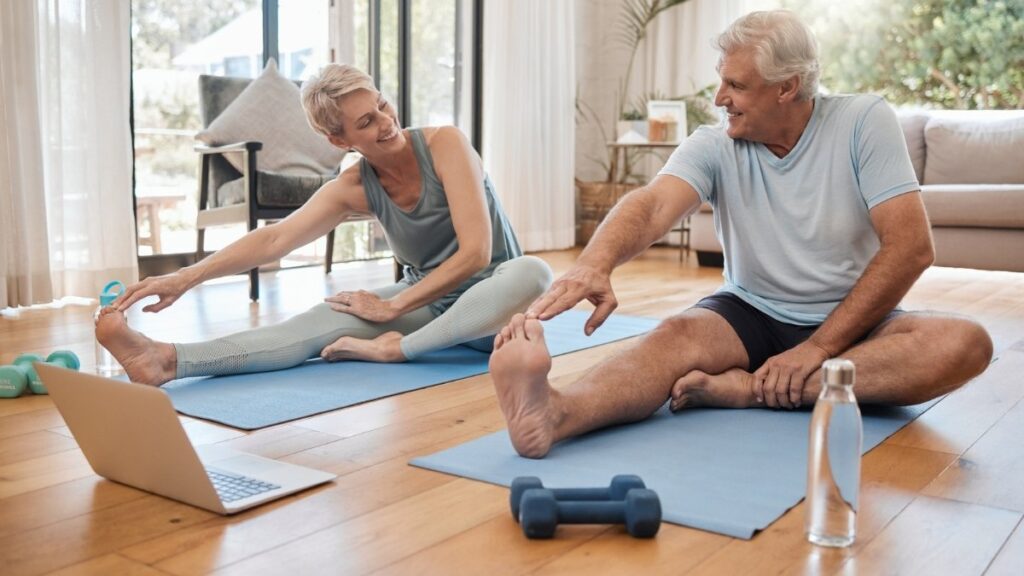
Keep your back straight. Hinge forward from your hips (not your lower back). Reach toward your right toes. You’ll feel the stretch in the back of your right thigh.
Hold for 20-30 seconds. Breathe slowly. Switch legs. Do each side 2-3 times.
If you can’t reach your toes, that’s fine. Rest your hands on your shin. Or use a towel looped around your foot and gently pull. Just don’t bounce.
Shoulder Cross-Body Stretch
Stand or sit tall. Bring your right arm across your chest. Use your left hand to gently pull your right arm closer to your body.
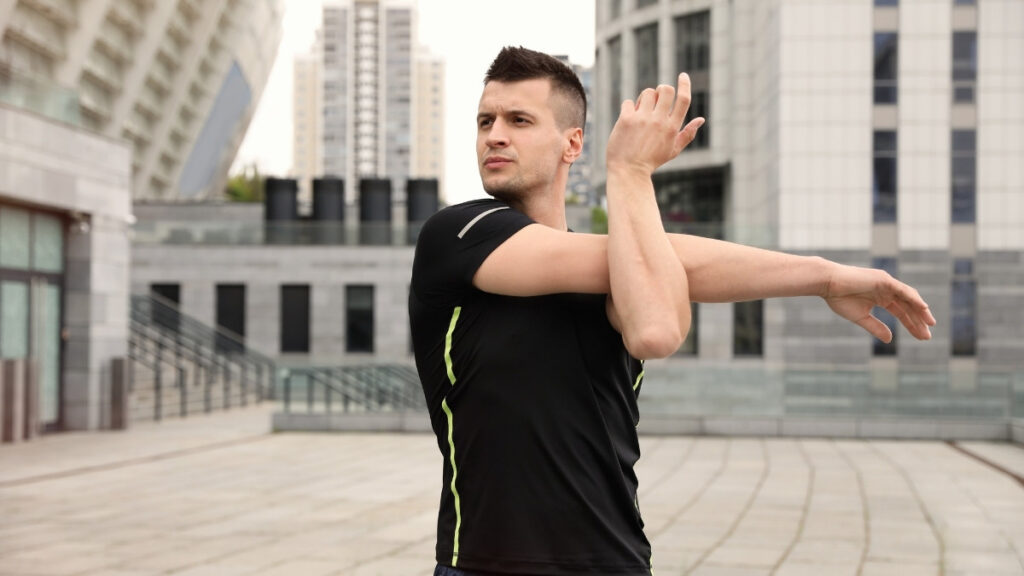
You should feel a stretch in the back of your right shoulder. Hold 20-30 seconds. Switch arms.
This stretch releases tension in your rotator cuff and upper back. It’s especially good if you have shoulder pain or limited range of motion.
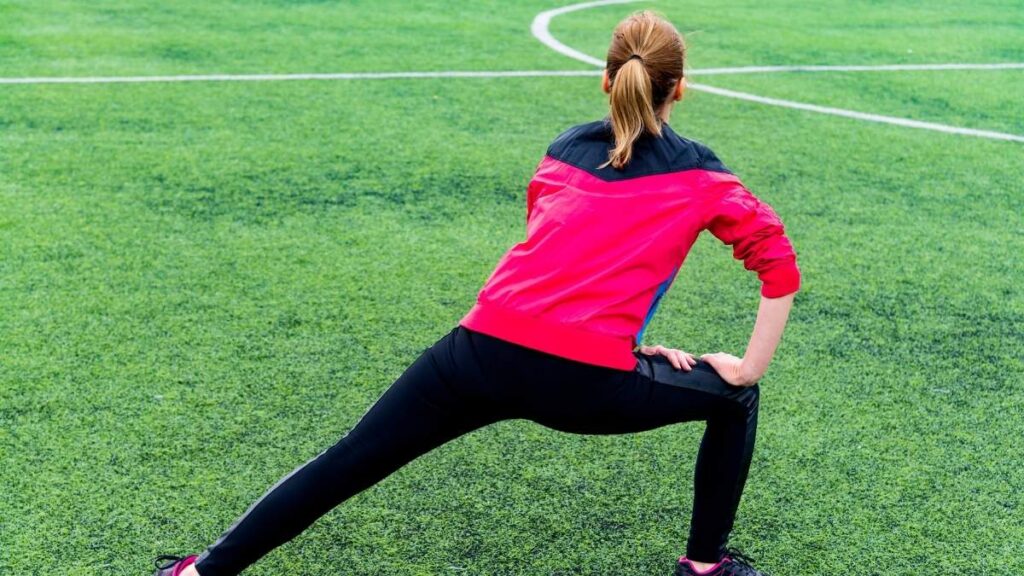
Hip Flexor Stretch
Stand next to a chair for balance. Step your right foot back into a small lunge position. Your left knee is bent. Right leg is behind you.
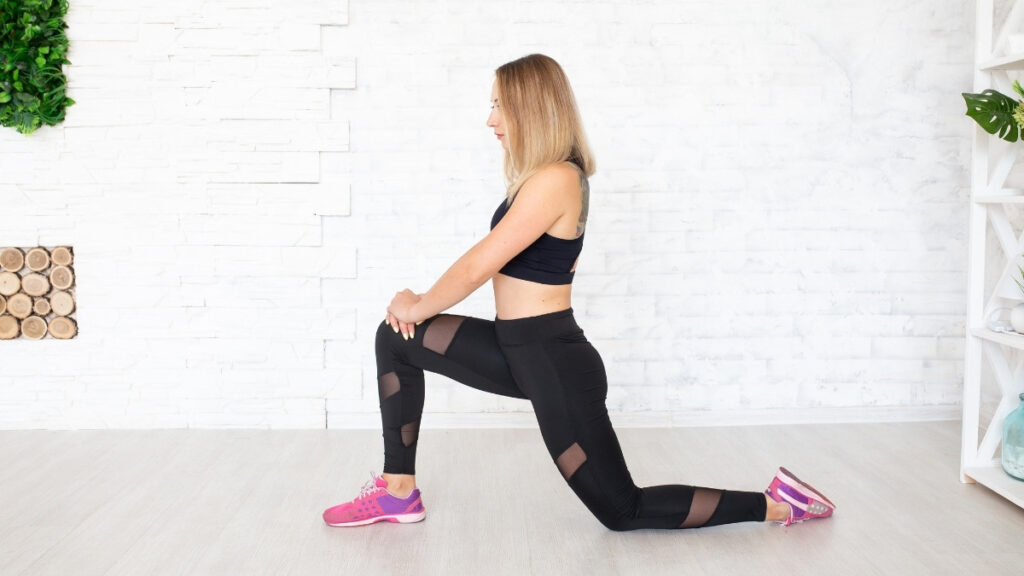
Tuck your pelvis slightly under (like you’re zipping up tight jeans). You’ll feel a stretch in the front of your right hip.
Hold 20-30 seconds. This stretch is gentle but powerful. Tight hip flexors are a major cause of lower back pain in older adults.
Cat-Cow Stretch
If you can get on the floor safely, this is excellent for spine flexibility. Get on your hands and knees. Hands under shoulders, knees under hips.
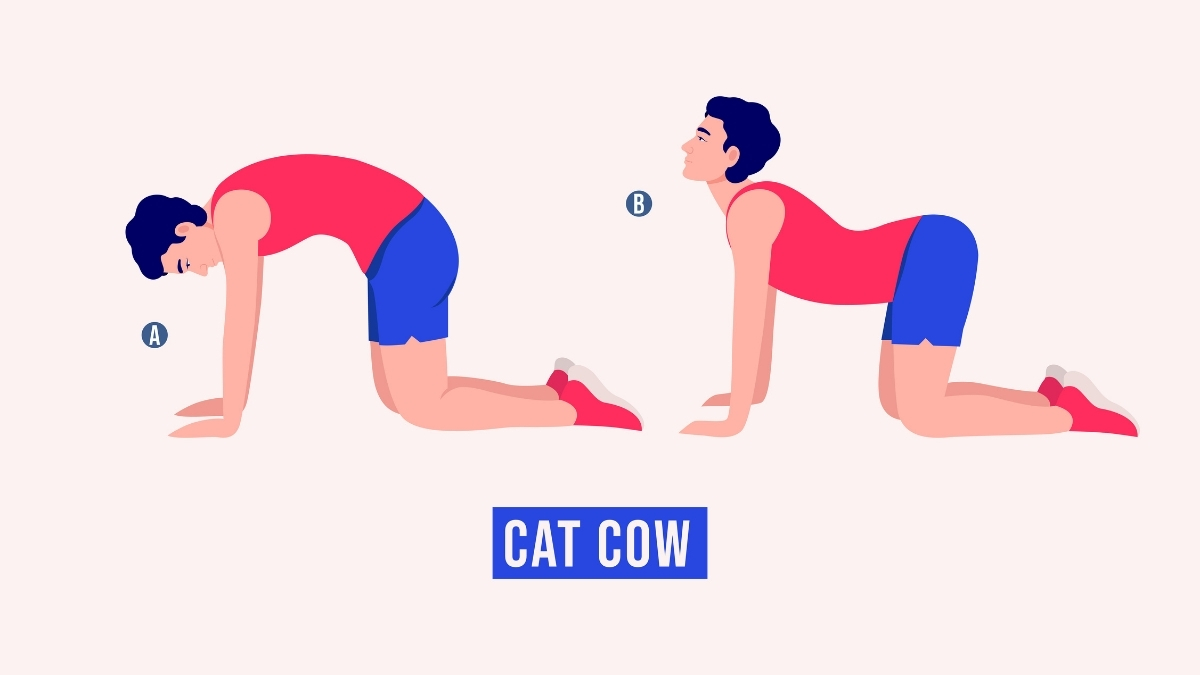
Arch your back and look up (cow pose). Then round your back and tuck your chin (cat pose). Flow between these two positions 10 times.
This mobilizes every segment of your spine. It’s like oiling a rusty hinge. If getting on the floor is hard, skip this one. The other stretches are enough.
Why Flexibility Matters
Tight muscles pull your skeleton out of alignment. They create pain and limit your movement. When you can’t reach or bend, you compensate with poor form. That causes injuries.
Flexible hips and hamstrings protect your lower back. Mobile shoulders let you dress yourself independently. Supple ankles prevent trips and stumbles.
Plus, stretching feels good. It releases tension and relaxes your nervous system. Many people sleep better after an evening stretching routine.
Warm Up First: Do 5 minutes of gentle walking before stretching cold muscles. Warm muscles stretch more easily and safely. Or stretch after exercise when you’re already warm. After a shower works great too.
Seated Options: All of these stretches have seated variations if getting on the floor is difficult. You can do hamstring stretches from a chair. Hip flexor stretches can be done seated by pulling one knee toward your chest.
Pain vs. Discomfort: A stretch should feel like a gentle pull. Slightly uncomfortable but not painful. If it’s sharp pain, you’ve gone too far. Back off immediately.
Best Timing: After exercise when muscles are warm. Or after a warm shower when your tissues are loose. First thing in the morning works if you do some light movement first.
Consistency: Flexibility improves gradually. Don’t expect to touch your toes on day one if you haven’t in 20 years. But after 4-6 weeks of consistent stretching, you’ll notice real changes.
Breathing: Never hold your breath during a stretch. Breathe slowly and deeply. Each exhale lets you sink a tiny bit deeper into the stretch.
Exercise 8 – Chair Marching (Seated Cardio)
Not everyone can walk long distances. Knee pain, hip problems, balance issues, or lung conditions make walking hard. But you still need cardio exercise.
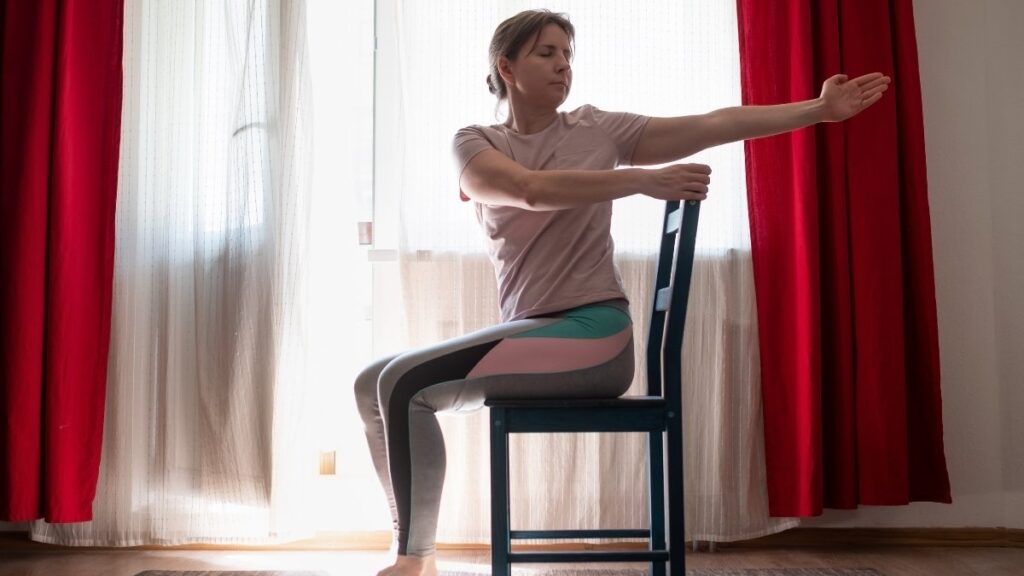
Chair marching solves this problem. It gets your heart pumping without putting weight on your joints. It improves circulation, strengthens your heart, and burns calories.
One session of moderate physical activity offers immediate benefits: better sleep that night, lower blood pressure, and improved mood. You don’t have to wait weeks. The benefits start right away.
How to Do It
Sit tall in a sturdy chair without wheels. Your feet are flat on the floor. Scoot forward so your back isn’t touching the chair back. This lets you sit up properly.
Cardiovascular Check: You should be able to talk while exercising. If you’re too breathless to speak, slow down. That means the intensity is too high.
Energy Boost: Use this as a mid-afternoon pick-me-up. When you hit that 2 PM slump and want a nap, march for 2-3 minutes instead. It’s better than coffee.
Music Motivation: March to your favorite upbeat songs. The rhythm keeps you going. It also makes it more fun. Music turns exercise into entertainment.
Progression: Once marching feels easy, add light hand weights. 1-2 pounds in each hand. This engages your upper body more and increases the challenge.
Frequency: You can do this several times daily in 1-3 minute bursts. It’s low impact, so your joints can handle it. Aim for 10-15 minutes total throughout the day.
Posture: Keep sitting tall. Don’t slump forward or lean back. Good posture makes the exercise work better and protects your spine.
Exercise 9 – Neck Mobility Exercises
Your neck gets stiff from years of poor posture, sitting, and looking down at phones or books. A stiff neck causes headaches, shoulder pain, and makes driving dangerous (you can’t check your blind spots).
Neck mobility exercises reverse this. They also prevent forward head posture, where your head juts out in front of your body. This posture strains your neck muscles and throws off your whole spine.
Chin Tucks
Sit or stand tall. Look straight ahead. Pull your chin straight back like you’re making a double chin. Don’t tilt your head down. Just slide it back.
You should feel a gentle stretch at the base of your skull and the back of your neck. Hold for 5 seconds. Relax. Do 10 repetitions.
This exercise strengthens the deep neck flexors. These muscles hold your head in proper alignment. When they’re weak, your head drifts forward.
Side Tilts
Sit tall. Tilt your head to the right, bringing your right ear toward your right shoulder. Don’t lift your shoulder up to meet your ear. Keep your shoulder down.
You’ll feel a stretch on the left side of your neck. Hold 10-15 seconds. Return to center. Tilt to the left. Hold 10-15 seconds. Do 3-5 times each side.
Gentle Rotations
Look straight ahead. Slowly turn your head to look over your right shoulder. Go as far as comfortable. Hold 10 seconds. Return to center.
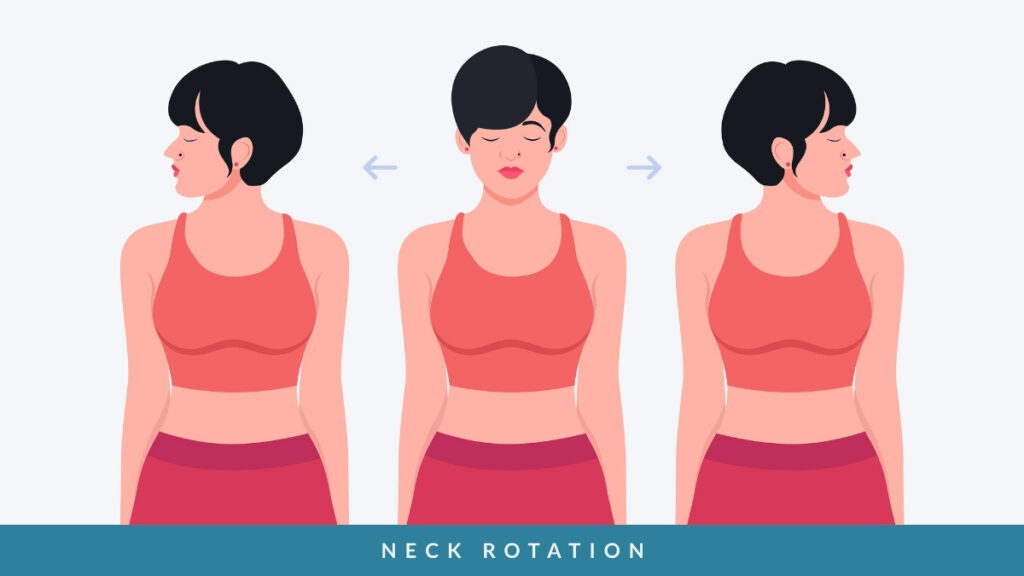
Turn to look over your left shoulder. Hold 10 seconds. Do 5 repetitions each direction.
This maintains your rotational range of motion. You need this for driving (checking blind spots), walking (looking around), and everyday life.
Why Neck Mobility Matters
A stiff neck limits what you can do safely. You can’t check traffic before crossing the street. You have to turn your whole body to see beside you.

It also contributes to headaches, especially tension headaches. Tight neck muscles refer pain up into your head and down into your shoulders.
Good neck mobility keeps your whole spine healthier. Your neck is part of the chain. When it moves well, the rest of your spine moves better too.
Gentleness Required: Your neck is delicate. Never force these movements. Gentle, controlled stretches are all you need. Aggressive stretching can cause injury.
Vertigo Warning: If you experience dizziness during neck rotations, stop immediately. This could indicate an inner ear problem or vertebral artery issue. Consult your doctor before continuing.
Posture Connection: Do these after prolonged sitting or screen time. They counteract the forward head posture that develops from looking down.
Breathing: Exhale during the stretch for deeper relaxation. When you breathe out, your muscles naturally release more. This lets you stretch farther safely.
No Pain Rule: Any sharp pain means stop immediately. You should feel a gentle stretch, maybe a little discomfort. Never sharp, shooting, or severe pain.
Daily Timing: Great to do first thing in the morning to loosen up after sleeping. Also good before driving to ensure full range of motion for safety.
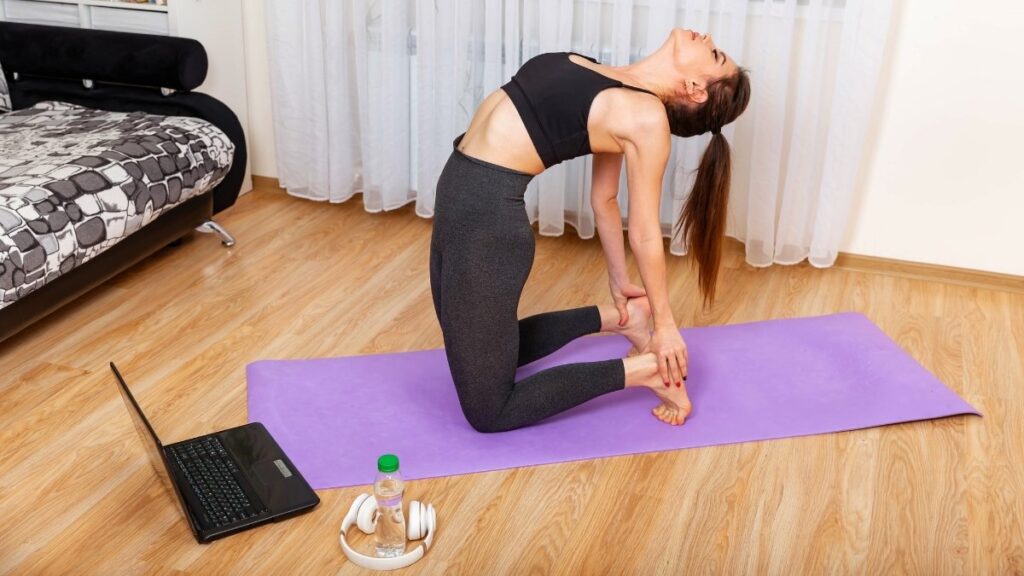
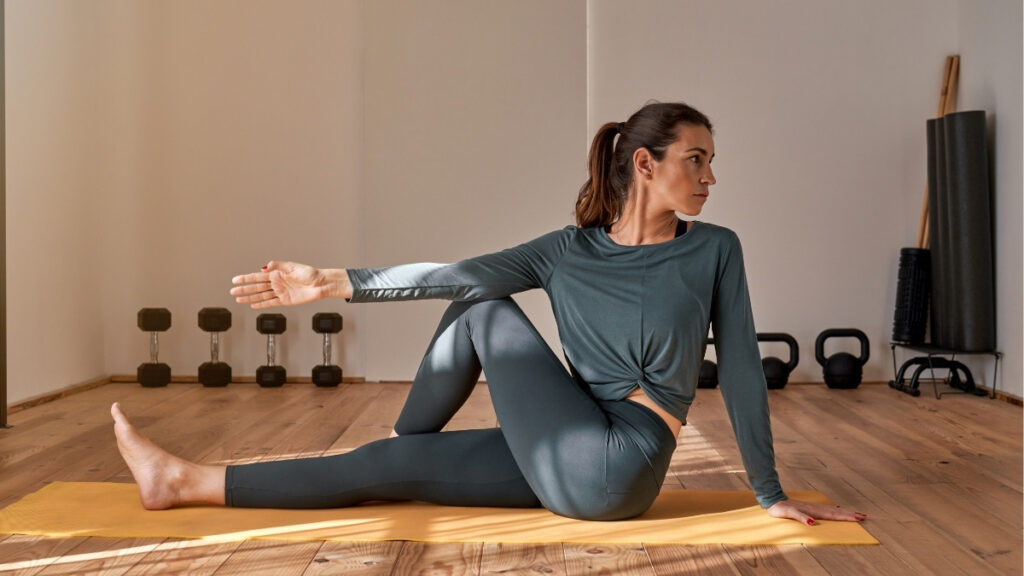
Exercise 10 – Seated Spinal Twists
Your spine needs movement in all directions to stay healthy. You bend forward and backward during daily activities. But most people rarely twist. That’s where spinal twists come in.
They maintain rotational flexibility in your spine. They also gently massage your internal organs and aid digestion. Plus, they feel really good after sitting still for a while.
How to Do Seated Spinal Twists
Sit on the front half of a sturdy chair. Both feet flat on the floor. Sit up as tall as you can. Imagine a string pulling the crown of your head toward the ceiling.
Place your right hand on the outside of your left knee or on the left arm of the chair. Place your left hand on the chair behind you or on the chair back.
Gently twist your torso to the left. Look over your left shoulder. Your belly button turns to the left. Your chest turns to the left. Your head follows last.
Hold for 15-20 seconds while breathing deeply. Each exhale lets you twist a tiny bit farther. Don’t force it.
Return to center. Repeat on the other side. Right hand behind you, left hand on right knee, twist to the right. Do 3-5 times each direction.
Proper Form
Keep both sitting bones (the bony parts of your butt) planted on the chair. Don’t let one lift up. The twist comes from your waist up, not from your hips.
Your lower body stays still. This isolates the movement to your spine where you want it.
Lead with your belly button, then your chest, then your shoulders, then your head. This creates a spiral through your whole spine.
Benefits
Twists wring out your spine like a washcloth. They release tension and increase circulation to the spinal discs. This brings nutrients in and waste products out.
They also reduce lower back stiffness. A stiff, immobile spine becomes painful. Twists restore mobility and relieve discomfort.
The gentle compression of your abdomen during twists aids digestion too. It’s like a massage for your intestines.
Spine Alignment: Keep both sitting bones planted firmly. Don’t let one hip lift up. The twist should come from your waist up, not your hips rotating.
Breathing Technique: Inhale to sit taller. Exhale to twist a little deeper. Your breath creates space in your spine and lets you move farther.
Neck Safety: Let your head follow your torso naturally. Don’t crank your neck around independent of your body. The whole spine twists together as a unit.
Gentle Progression: Go to about 70% of your maximum twist on the first repetition. Then twist a little farther on the second and third repetitions as your muscles warm up.
Daily Benefit: Excellent after car rides or long periods sitting. Your spine gets compressed and stiff from sitting. Twists decompress it and restore mobility.
Caution: If you have severe osteoporosis or spinal stenosis, check with your doctor before doing twisting exercises. Some spinal conditions require modified movements.
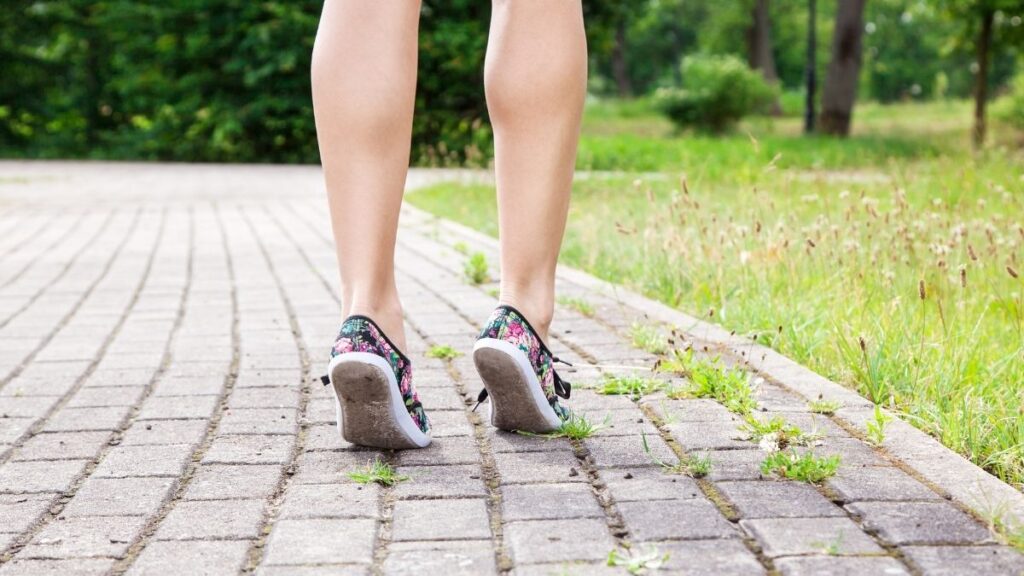
Exercise 11 – Walking (The Foundation Exercise)
Walking is the single best exercise you can do. It’s free. You can do it anywhere. And the benefits are remarkable.
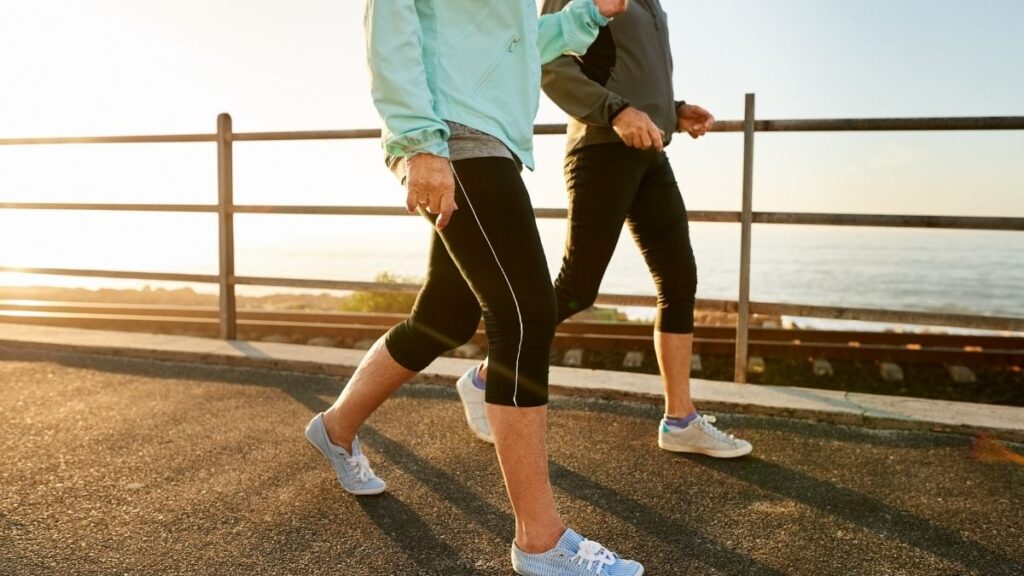
Adults who walk 8,000 or more steps daily have a 51% lower risk of death from all causes compared to those walking just 4,000 steps. That’s cutting your risk in half just by walking more.
Walking combines cardiovascular exercise, balance training, and bone strengthening all in one activity. Your heart gets stronger. Your legs get stronger. Your bones get denser from the weight-bearing impact.
How to Walk with Good Form
Start with 5-10 minutes at a comfortable pace. Don’t worry about speed. Just get moving.
Focus on posture: Keep your head up and look forward, not down at the ground. Pull your shoulders back. Let your arms swing naturally at your sides.
Land on your heel and roll through to your toes with each step. Push off with your toes. This engages your calf muscles properly.
Building Duration
Add 1-2 minutes each week. After a month, you should be able to walk 15-20 minutes comfortably. Work up to 20-30 minutes daily.
You can break it into chunks. A 10-minute walk in the morning and a 10-minute walk after dinner equals 20 minutes total. That counts.
Adding Variety
Once regular walking feels easy, add challenges. Find routes with gentle hills. The incline makes your legs and heart work harder.
Try increasing your pace slightly. Not so fast that you’re breathless. Just a little quicker than your normal stroll.
Walk on different surfaces. Grass, gravel, or sand all challenge your balance and ankles more than flat pavement.
The 150-Minute Goal
Health guidelines recommend 150 minutes of moderate activity per week. That’s 30 minutes five times a week. Or 20 minutes seven times a week.
Walking is the easiest way to hit this target. It’s gentle enough to do daily. Yet effective enough to transform your health.
People who meet this goal have lower rates of heart disease, diabetes, stroke, and many cancers. They also have better mental health and sleep quality.
Indoor Alternatives: When weather is bad, walk at the mall. Many malls open early for walkers. Or walk the hallways of your home or apartment building. A treadmill works too.
Safety Gear: Wear supportive shoes with non-slip soles and good cushioning. If you feel unsteady, use a walking stick or cane. There’s no shame in using tools that keep you safe.
Social Component: Walk with a friend or join a walking group. The conversation makes time fly by. Plus, you’re less likely to skip it if someone is counting on you.
Progression: Once you can comfortably walk 30 minutes on flat ground, add gentle hills. Or increase your pace slightly. Small challenges keep your fitness improving.
Goal Setting: Work toward that 150 minutes weekly for maximum health benefits. Track it with a simple pedometer, your phone, or a fitness watch.
Tracking: Use a simple pedometer or your phone’s built-in step counter. Seeing your progress motivates you to keep going. Aim for 7,000-10,000 steps daily if possible.
Listen to Your Body: Some days you’ll feel energetic and walk farther. Other days, 10 minutes is all you’ve got. Both are fine. Consistency over time matters more than any single walk.
Creating Your Personalized 5-10 Minute Daily Routine
You don’t need to do all 11 exercises every day. That’s overwhelming and unnecessary. Instead, create a short routine that hits the main areas: strength, balance, flexibility, and grip.
Here are three sample routines at different levels. Pick the one that matches where you are now. After a few weeks, you can progress to the next level.
Sample Beginner Routine (5 Minutes)
This routine covers the basics. You’ll work posture, legs, ankles, and grip. Five minutes total.
- Chin tucks with shoulder squeezes (1 minute) – 10 repetitions
- Chair squats (1 minute) – Start with 5-10 sit-to-stands
- Ankle raises (1 minute) – 15 calf raises, then 15 toe raises
- Grip strength ball squeezing (1 minute) – Alternate hands
- Walking in place or around your home (1 minute)
Do this routine every morning before breakfast. Make it part of your routine like brushing your teeth.
Sample Intermediate Routine (7 Minutes)
You’ve built some base strength. Now add balance and more variety.
- Wall angels (1 minute) – 10 slow repetitions
- Wall ball squats (1.5 minutes) – 10-15 squats
- Lateral side steps (1 minute) – 10 steps each direction
- Single-leg balance stands (1.5 minutes) – 30 seconds each leg, 3 times
- Grip strengthener or finger touches (1 minute)
- Seated spinal twists (1 minute) – 3-5 each side
This routine adds frontal plane movement (side-to-side) and more balance work.
Sample Advanced Routine (10 Minutes)
You’re strong and stable. Time to challenge yourself more.
- Full posture routine: ball stretch, chin tucks, wall angels (2 minutes)
- Posture squats with arms overhead (2 minutes) – 15-20 squats
- Grapevine steps (1 minute)
- Single-leg balance with eyes closed (1 minute) – Work up to 30 seconds each leg
- Wrist roller exercise (2 minutes)
- Full-body stretches (2 minutes) – Hamstrings, hips, shoulders
This routine pushes all your systems and maintains high-level function.
Mix and Match Based on Your Needs
Feeling stiff today? Add extra stretches. Legs feel weak? Do more squats. Balance feeling off? Add single-leg stands.
Your body tells you what it needs. Listen to it. Some days you’ll feel energetic and do the advanced routine. Other days, the beginner routine is plenty. Both are fine.
Weekly Schedule Suggestions
Monday: Strength focus (squats, grip work, posture) Tuesday: Balance focus (single-leg stands, lateral steps) Wednesday: Flexibility focus (stretches, spinal twists) Thursday: Repeat Monday routine Friday: Cardio focus (walking, chair marching) Saturday: Full-body routine hitting everything Sunday: Gentle stretching and mobility work
Or keep it simple: Do 5-7 minutes of mixed exercises every single day. Consistency beats perfection.
The key is showing up daily. Five minutes every day beats 30 minutes once a week. Your body responds to regular, consistent stimulus. Make it a non-negotiable part of your day.
Safety Guidelines and When to Consult Your Doctor
Exercise is safe for most people. But you need to use common sense and listen to your body. Here’s what you need to know before starting.
Always Check with Your Doctor First
If you have any of these conditions, talk to your doctor before beginning this routine:
- Recent surgery or injury
- Heart disease or chest pain
- Uncontrolled high blood pressure
- Severe arthritis
- Balance problems with frequent falls
- Osteoporosis
- Lung disease or shortness of breath with mild activity
Most doctors will encourage you to exercise. They might just suggest modifications based on your specific situation.
Warning Signs to Stop Exercise Immediately
Stop right away if you experience:
- Chest pain or pressure
- Severe shortness of breath
- Dizziness or lightheadedness
- Sudden sharp pain anywhere
- Nausea
- Heart palpitations (irregular or racing heartbeat)
- Extreme fatigue
If any of these happen, sit down, rest, and call your doctor. If it’s severe, call 911.
Modifications for Common Conditions
Arthritis: Start with smaller ranges of motion. Do fewer repetitions. Use the easiest variations. Stop before pain starts. Gentle, consistent movement actually helps arthritis.
Osteoporosis: Avoid exercises that involve bending forward or twisting forcefully. Skip sit-ups. Be gentle with spinal twists. Focus on posture, balance, and leg strength instead.
Heart Disease: Keep intensity moderate. You should be able to talk while exercising. Start with just 2-3 minutes and build very slowly. Monitor how you feel closely.
Knee Problems: Reduce squat depth. Quarter squats still build strength. Use support for balance exercises. Walking might be better than squats for you.
Hydration Matters
Older adults often don’t feel thirsty even when dehydrated. Drink water before, during (if exercising more than 10 minutes), and after exercise.
Keep a water bottle nearby during your routine. Take sips between exercises. Dehydration causes dizziness, fatigue, and increases fall risk.
How to Progress Safely
Add difficulty slowly. Increase repetitions before increasing resistance or difficulty of variations. Your tendons and ligaments need time to adapt. They strengthen slower than muscles.
Follow the 10% rule: Don’t increase volume by more than 10% per week. If you do 10 squats today, do 11 next week. Not 15.
Take rest days if you’re sore. Muscles grow during rest, not during exercise. One day of rest per week is smart.
Listen to your body. Good pain is muscle fatigue, a slight burn, or mild soreness the next day. Bad pain is sharp, sudden, or in joints. Good pain means you’re working. Bad pain means stop.
Conclusion
These 11 exercises take only 5-10 minutes daily. That’s less time than making breakfast. But the impact on your life is massive.
Consistent exercise can reduce your fall risk by 46%. It can improve how your body functions by 35%. It can cut depression by more than half. These aren’t small changes. They’re life-altering.
The routine you just learned is backed by physical therapists and current research. These exercises work. Thousands of older adults use them to stay strong, balanced, and independent.
You don’t have to be perfect. You don’t have to do all 11 exercises every day. Start with just 3-5 exercises. Do them for 5 minutes. Show up every single day.
Consistency beats intensity. Five minutes daily beats 30 minutes once a week. Your body responds to regular stimulus. Make this routine as automatic as brushing your teeth.
Start small. Build gradually. Be patient with yourself. Your flexibility won’t return overnight. Your balance won’t perfect itself in a week. But after a month, you’ll notice real differences.
Your knees will hurt less climbing stairs. You’ll stand up from chairs more easily. Reaching into high cabinets won’t strain your shoulders. These small wins accumulate into a better life.