How to Regain Flexibility as a Senior: A Complete Guide to Moving Better (According to the trainers)
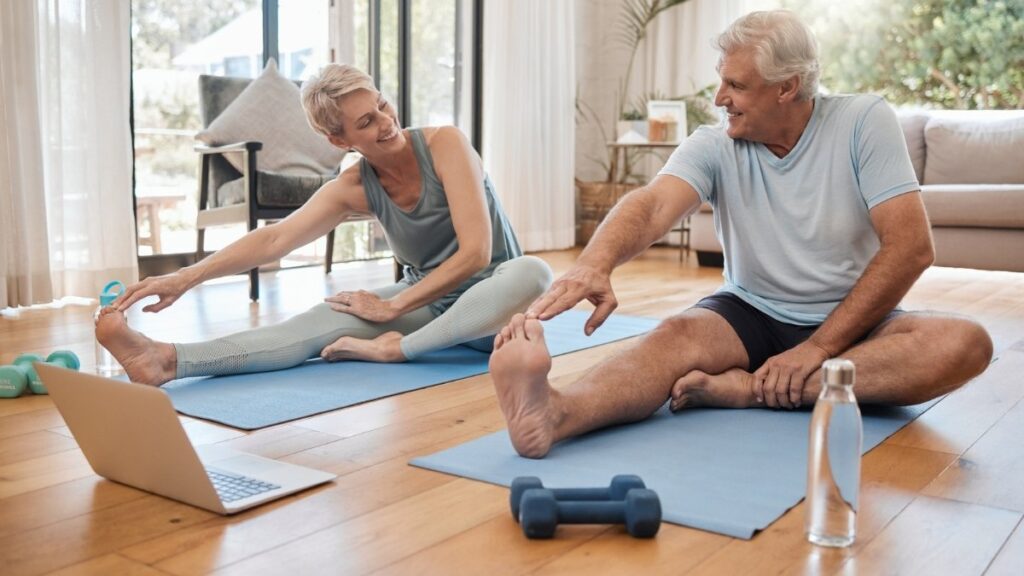
Regaining flexibility as a senior is not only possible—it’s essential for maintaining independence and quality of life. Whether through targeted stretching, yoga, swimming, or tai chi, consistent practice 2-3 times weekly can restore range of motion, reduce fall risk, and help you move more comfortably through daily activities.
Start today with just 10 minutes of gentle stretching. Choose 3-5 exercises from the neck, back, and leg sections, hold each for 30 seconds, and repeat 2-3 times. Remember: flexibility improvements happen gradually, so be patient and consistent.
With dedication to flexibility exercises for seniors and a personalized stretching routine, you can turn back the clock on stiffness and rediscover comfortable, confident movement.
Your Flexibility & Balance Guide
Why Stretch?
Stiffness after 60 is common and increases your risk of falling. Stretching helps you stay independent and makes daily tasks easier.
The Benefits
You’ll feel less pain, have better balance, and reduce your fall risk. Activities like Tai Chi can cut fall risk by up to 43%!
The 2-3x Plan
Aim to stretch at least 2-3 times per week. Hold each stretch for a total of 60 seconds (e.g., 2 reps of 30 seconds).
Safety: Warm Up!
Never stretch cold muscles! Always warm up first with 5-10 minutes of light walking or marching in place.
Safety: No Pain!
A stretch should feel like gentle tension, not sharp pain. On a 1-10 scale, aim for a 3-5. Never bounce.
Key Areas
Focus on your major muscle groups: Neck & Shoulders, your Back, and your Hips & Legs.
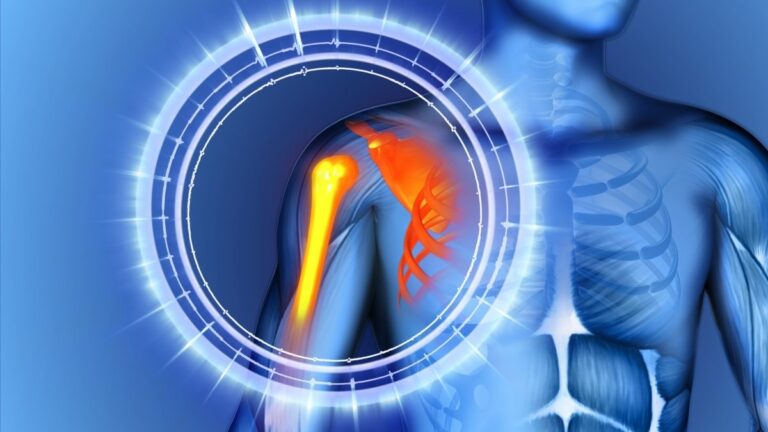
Understanding Flexibility Loss in Seniors
Your body changes as you get older. That’s just how it works. The muscles that once stretched easily now feel tight. The joints that moved smoothly start to feel stiff. You might notice that reaching for something on a high shelf takes more effort. Or bending down to tie your shoes makes you grunt a little.
Right now, 59.3 million Americans are over 65. That’s about 17.71% of everyone in the country. And many of them feel that tightness in their bodies. It affects simple things you do every day.
Getting in and out of a car becomes harder. Looking over your shoulder while driving takes more effort. Even walking can feel different when your hips and legs don’t move as freely.
Helpful Tip: Pay attention to movements that feel harder than they used to. Write them down. This helps you track which areas need the most work.
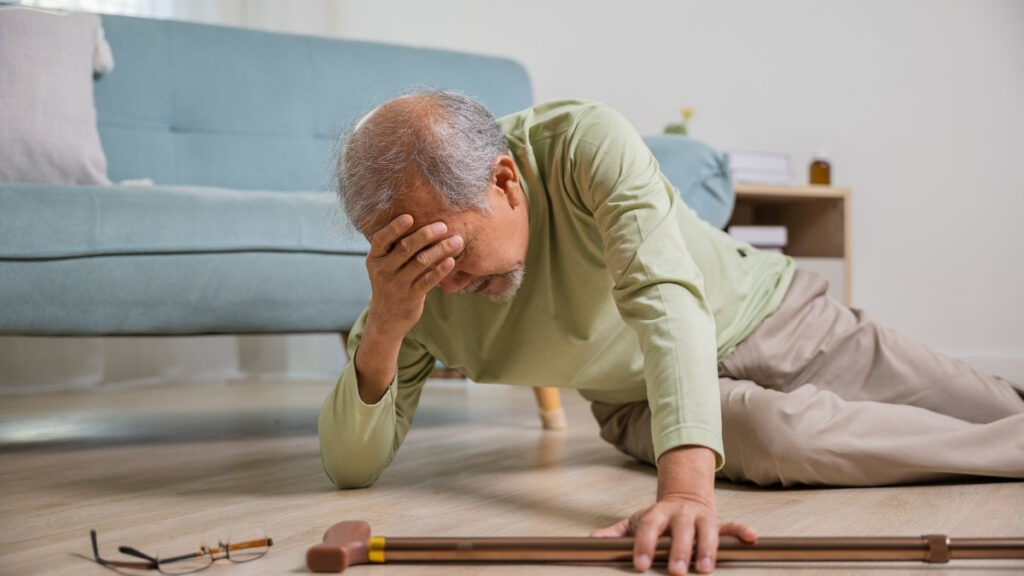
Here’s something important: this stiffness raises your risk of falling. Over 36 million older adults fall each year. When your body can’t move well, balance gets worse. You can’t catch yourself as quickly. Your steps become shorter and more careful.
Helpful Tip: Think of flexibility like a skill you can practice. Just like you can learn to play cards or use a smartphone at any age, you can improve how your body moves.
Benefits of Flexibility Training for Seniors
Let’s talk about why this matters for your life. Not some future version of you. Your life right now.
You’ll Fall Less Often
Falls scare people. They should. But flexibility training cuts that risk way down. Tai Chi can reduce your chances of falling by up to 43%. That’s huge. It improves your balance in ways you can measure.

When your muscles and joints move better, your body can react faster. You can catch yourself. You can step around obstacles without losing your balance.
Helpful Tip: Start flexibility training before you have a fall. Prevention is much easier than recovery.
You’ll Stay Independent Longer
This is what most people care about most. You want to do things yourself. Getting dressed without help. Making your own meals. Driving to see friends. Taking care of your home.
All of these need good flexibility. When you can bend, reach, twist, and stretch without pain, you keep your independence. You don’t have to ask for help with simple tasks.
Helpful Tip: Notice which daily tasks feel difficult. Focus your stretching on the movements those tasks require.
You’ll Feel Less Pain
Stiff muscles hurt. Tight joints ache. Many seniors deal with constant discomfort. Regular stretching reduces this. It loosens up tight spots. It takes pressure off your joints.
It helps your body feel better overall. That stiffness in your lower back? Stretching can help. Those tight shoulders? They can loosen up too.
Your Mind Gets Better Too
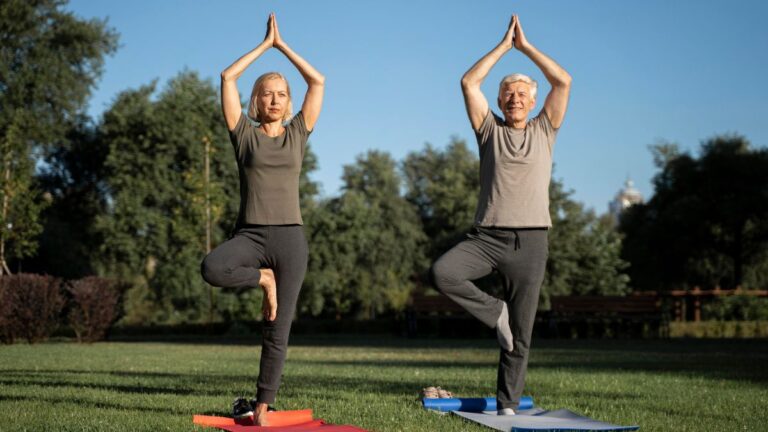
Flexibility training isn’t just physical. Yoga reduces stress. It may help with anxiety and depression. When your body feels better, your mood improves. You feel more capable.
Helpful Tip: Choose activities you actually enjoy. If you hate being alone, join a class. If you prefer quiet time, stretch at home with calm music.
Your Heart Benefits
This might surprise you. Flexibility training helps your heart and blood vessels. Regular practice can improve your cardiovascular fitness. It may reduce your risk factors for stroke. Activities like Tai Chi do more than just make you flexible. They support your whole body’s health.
Helpful Tip: Track how you feel, not just how far you can stretch. Better sleep, less pain, and more energy all count as wins.
The Complete Seniors’ Stretching Plan
You need a plan. Random stretching helps a little. A good plan helps a lot. Here’s what works based on research and what physical therapists recommend.
How Often Should You Stretch?
Adults should do flexibility exercises at least 2-3 times per week. That’s for all your major muscle groups.

Your neck, shoulders, back, hips, and legs. All of them need attention. You can stretch more often if you want. Daily stretching is great. But 2-3 times weekly is the minimum to see real improvement.
Helpful Tip: Put your stretching sessions on your calendar. Treat them like doctor appointments you can’t skip.
How Long Should You Hold Each Stretch?
Here’s the key number: 60 seconds total for each stretch. You don’t do this all at once. You hold the stretch for 15-30 seconds. Then you release.
Then you repeat it. By the time you’re done, you’ve spent about a minute on that stretch. This gives your muscles time to actually lengthen. Quick stretches don’t do much.
Two Types of Stretching
Static stretching means you hold still. You get into position and stay there. This is what most people think of when they hear “stretching.” It’s safe and effective for seniors.
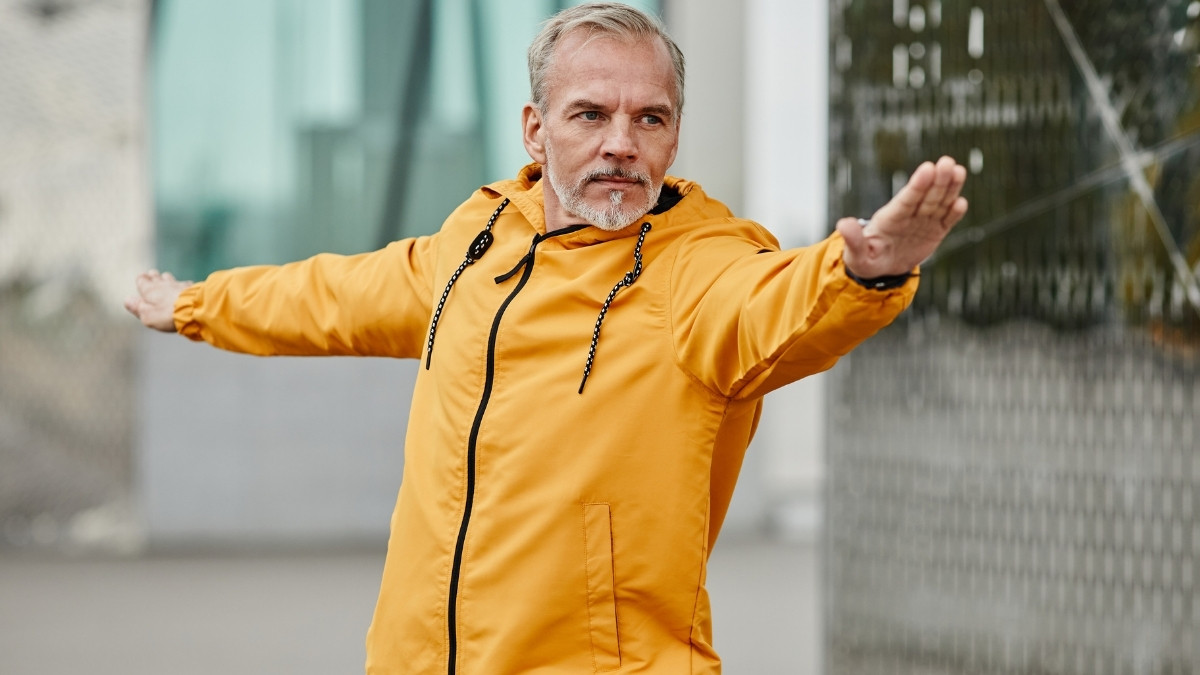
Dynamic stretching means you move. You swing your arms in circles. You do leg swings. You move your body through its range of motion. This is good for warming up before other exercise.
Helpful Tip: If you’re new to stretching, stick with static stretches. Save dynamic movements for later when you’re more comfortable.
Safety Rules You Must Follow
Never stretch cold muscles. This is important. Cold muscles tear more easily. You need to warm up first. Walk around your house for 5-10 minutes. March in place. Do some gentle arm movements. Get your blood flowing. Then stretch.

Helpful Tip: Use the 1-10 scale. If 1 is no sensation and 10 is serious pain, stay between 3 and 5. That’s the sweet spot for safe stretching.
Starting Your Practice
Begin with 2-3 days per week. Maybe Monday, Wednesday, and Friday. Start with just 10-15 minutes per session. Pick 5-6 stretches. Do them slowly. Focus on form, not speed. After a few weeks, add more time. Add more stretches. Work up to 20-30 minutes. Eventually, you might stretch a little bit every day.
Progressive Approach
- Week 1-2: Three sessions, 10 minutes each, 5 stretches
- Week 3-4: Three sessions, 15 minutes each, 8 stretches
- Week 5-6: Four sessions, 20 minutes each, 10 stretches
- Week 7+: Five to seven sessions, 20-30 minutes each, full routine
Helpful Tip: When you first start, you might feel more stiff the next day. This is normal. Your muscles are waking up. It gets better after a few sessions.
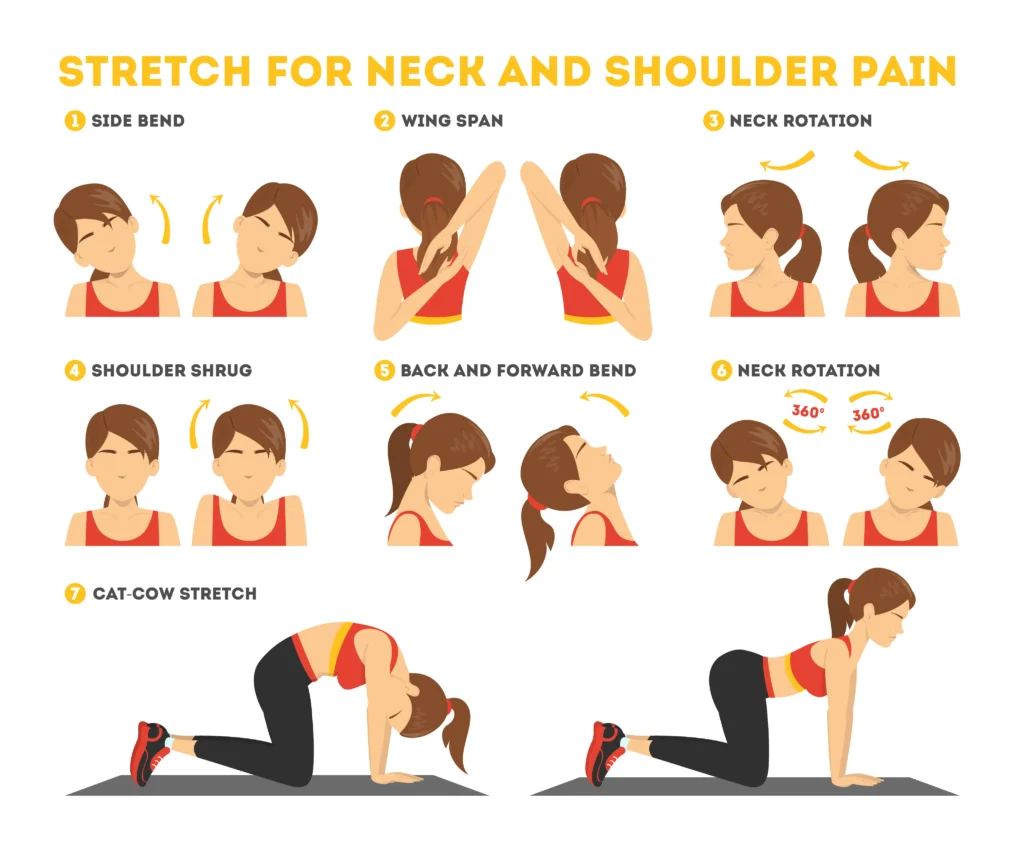
Essential Neck and Shoulder Stretches for Seniors
Your neck and shoulders carry a lot of tension. Hours of reading, watching TV, or looking at your phone add up. These stretches help. Do them gently. Your neck is delicate.
Neck Flexion Stretch (Chin to Chest)
Sit up straight in a sturdy chair. Keep your shoulders down and relaxed. Slowly drop your chin toward your chest. You should feel a gentle stretch in the back of your neck. Hold this for 30-60 seconds. Don’t force it. Let gravity do the work.
Common mistake: People hunch their whole upper back. Keep your back straight. Only your head moves.
Modification: If this feels too intense, don’t bring your chin all the way down. Go halfway.
Helpful Tip: Place your hands gently on the back of your head for a slightly deeper stretch. Don’t pull hard. Just the weight of your hands helps.
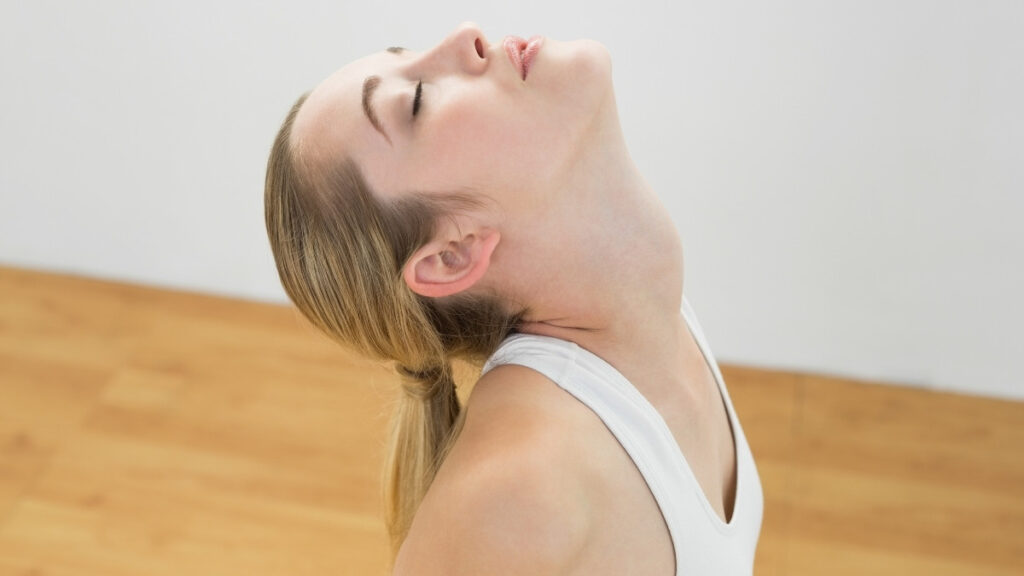
Neck Extension Stretch (Looking Up)
Start in the same sitting position. Slowly tilt your head back. Look up at the ceiling. You’ll feel this in the front of your neck and throat area. Hold for 30-60 seconds. Breathe normally. This stretch can make some people dizzy, so take it slow.
Common mistake: Opening your mouth wide. Keep your mouth gently closed.
Modification: If you feel dizzy, do this lying down on your bed with your head hanging slightly off the edge. Or just don’t tilt back as far.
Helpful Tip: If you wear bifocals or progressive lenses, take them off. Looking up through the wrong part of your glasses can cause neck strain.
Neck Side Flexion Stretch (Ear to Shoulder)
Sit straight. Drop your right ear toward your right shoulder. Don’t lift your shoulder up to meet your ear. Let your head do all the moving. You’ll feel this down the left side of your neck. Hold 30-60 seconds. Then switch sides.

Common mistake: Rotating your head forward or back. Keep your face pointing forward. Think about sliding your ear straight sideways.
Modification: Use your hand. Place your right hand gently on the left side of your head. Don’t pull. Just rest it there. The small amount of weight helps.
Helpful Tip: This stretch is great to do throughout the day, especially if you work at a desk or spend time reading.
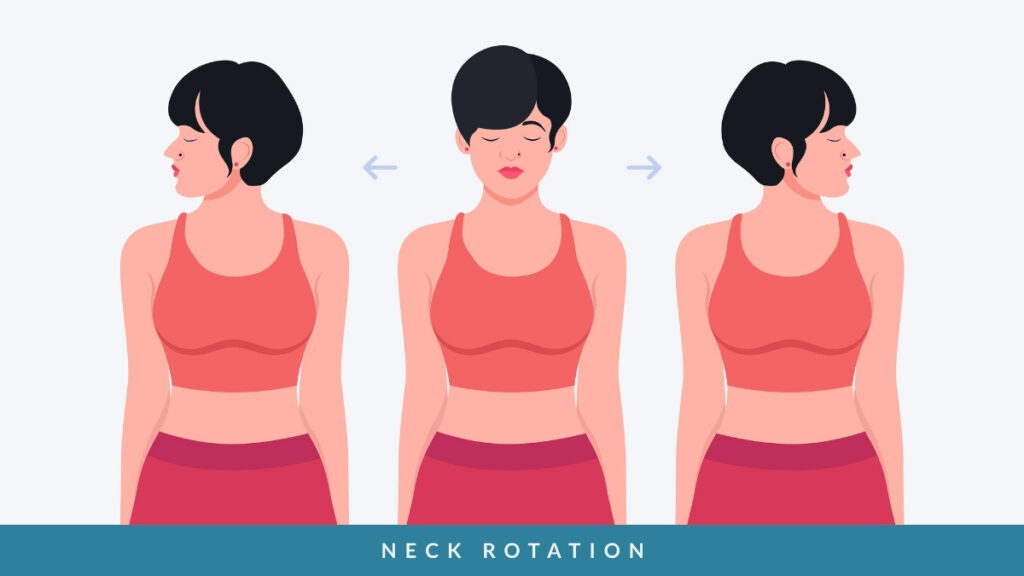
Neck Rotation Stretch (Looking Over Your Shoulder)
Keep sitting tall. Turn your head to look over your right shoulder. Imagine you’re trying to see something directly behind you. Your shoulders stay facing forward. Only your head turns. Hold 30-60 seconds. Switch to the left side.
Common mistake: Turning your whole body. Your shoulders and torso don’t move. Only your head rotates.
Modification: Don’t turn all the way around. Go as far as feels comfortable.
Helpful Tip: Do this before driving. It makes checking blind spots easier and safer.
Levator Scapular Stretch
This one’s slightly more complex but really helps neck and shoulder tightness. Sit straight. Turn your head 45 degrees to the right (halfway between looking forward and looking over your shoulder).
Now drop your nose down toward your armpit. You’ll feel this along the back-left side of your neck and into your shoulder. Hold 30-60 seconds. Repeat on the other side.
Common mistake: Turning too far or not far enough. That 45-degree angle matters.
Modification: Use your hand. Place your right hand on the back-left of your head. Let the gentle weight increase the stretch.
Helpful Tip: This stretch targets a muscle that gets very tight from stress and poor posture. If you carry tension in your shoulders, do this one twice a day.
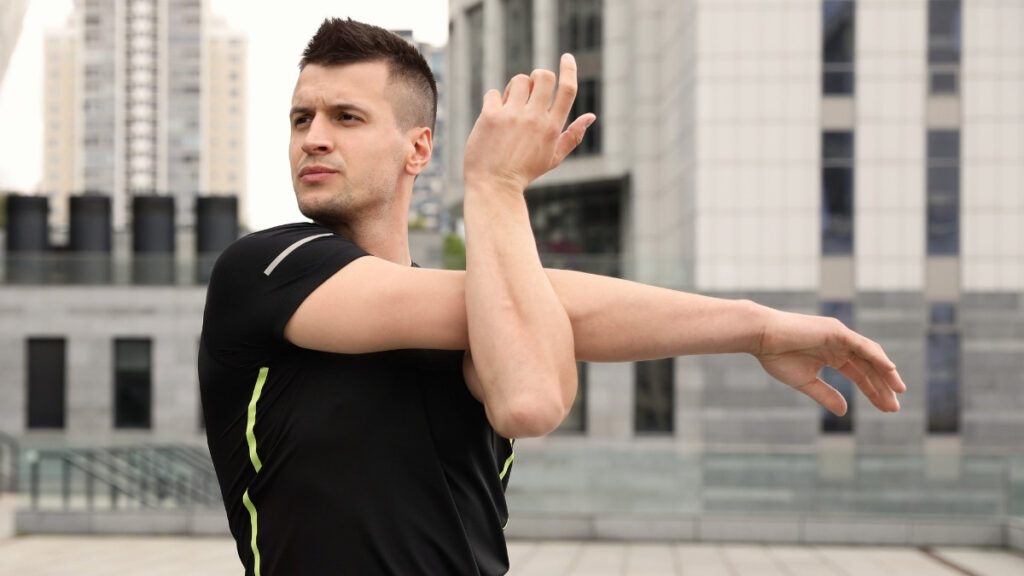
Upper Arm and Shoulder Stretch
Stand or sit. Bring your right arm across your body. Use your left arm to hug it close to your chest. Keep your right arm straight but not locked. You should feel this in your right shoulder. Hold 30-60 seconds. Switch arms.
Common mistake: Letting the arm bend too much. Keep it fairly straight.
Modification: If your arm won’t reach all the way across, that’s fine. Go as far as you can.
Helpful Tip: This stretch helps with reaching across your body, like fastening a seatbelt or reaching into the back seat of a car.
Shoulder and Arm Overhead Stretch
Stand or sit tall. Interlace your fingers. Turn your palms to face up toward the ceiling. Reach both arms overhead. Straighten your elbows as much as comfortable. You’ll feel this in your shoulders, arms, and even your sides. Hold 30-60 seconds.

Common mistake: Arching your lower back. Keep your core engaged. Don’t let your back sway.
Modification: If you can’t reach overhead, reach forward instead. Or do one arm at a time.
Helpful Tip: This movement mimics reaching for high shelves. The better you get at this stretch, the easier those reaches become in daily life.
Back Stretches to Improve Spinal Flexibility
Your spine needs to bend, twist, and extend. When it can’t, everything gets harder. Your back carries you through life. Take care of it. These stretches help with posture, reduce pain, and make daily movements easier.
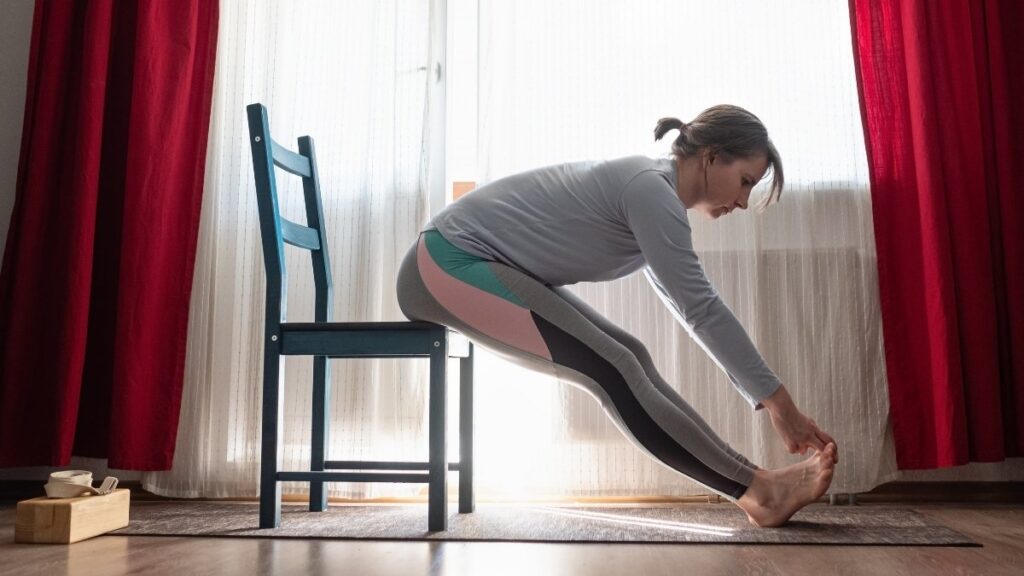
Lumbar Flexion Stretch (Seated Toe Touch)
Sit on the edge of a sturdy chair. Place your feet flat on the floor, hip-width apart. Slowly bend forward from your hips. Let your hands slide down your legs toward your feet. Go as far as feels comfortable. You might reach your shins, ankles, or feet. Wherever you stop is fine. Hold 30-60 seconds.
You should feel this in your lower back. Some people also feel it in their hamstrings. That’s normal. Breathe deeply. With each exhale, you might be able to go slightly deeper.
Helpful Tip: This stretch helps with putting on socks and shoes. It also makes getting in and out of a car easier.
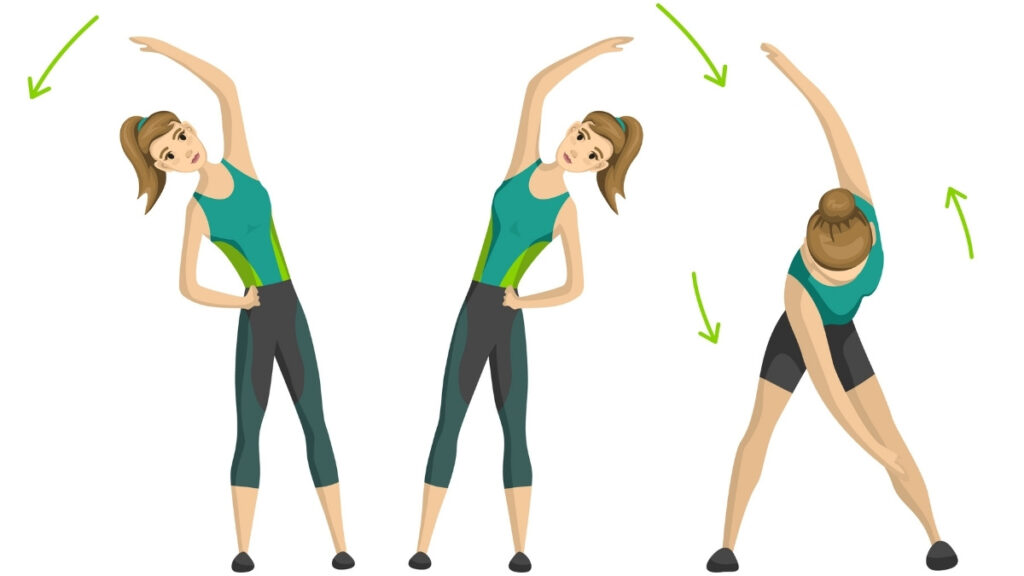
Lumbar Side Flexion Stretch
Sit tall in your chair. Raise your right arm overhead. Slowly lean to your left side. Your right arm reaches up and over. You’ll feel this stretch along your right side from your hip to your armpit. Hold 30-60 seconds. Come back to center. Repeat on the other side.
Common mistake: Leaning forward or backward while you side bend. Keep your body in one flat plane, like you’re between two panes of glass.
Modification: Don’t raise your arm overhead. Just place your hand on your head and lean.
Chair-based option: Keep both hands on your hips if balance is an issue.
Helpful Tip: This stretch improves your ability to reach sideways, like grabbing something from the passenger seat while driving.
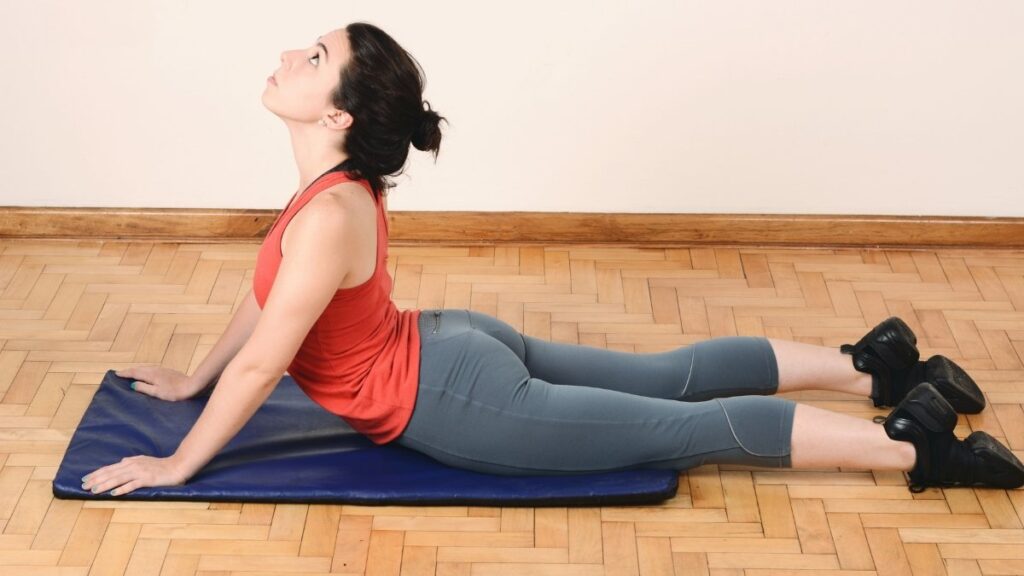
Lumbar Extension Stretch
Sit on the edge of your chair. Place your hands on your lower back, fingers pointing down. Gently arch your back, pushing your chest forward. Look up slightly toward the ceiling. You’ll feel this stretch in the front of your body and a gentle compression in your lower back. Hold 30-60 seconds.
Common mistake: Overarching and straining your lower back. This should feel good, not painful.
Modification: Don’t look up. Keep your head neutral. Just do the gentle back arch.
Chair-based option: You can also do this standing if sitting makes it harder.
Helpful Tip: This stretch counters the forward-hunched position many people spend hours in every day. It opens up your chest and improves posture.
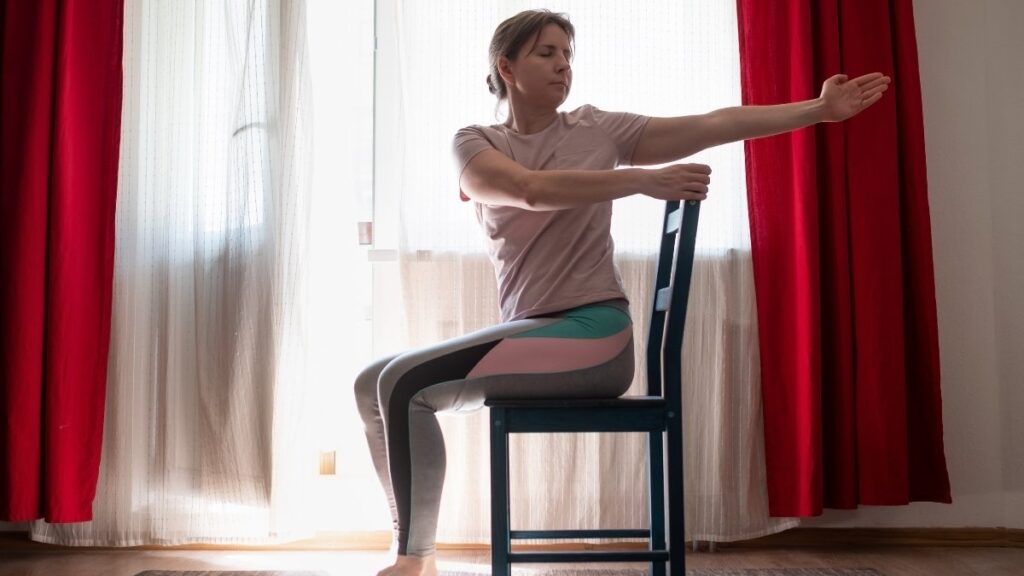
Rhomboids (Upper Back) Stretch
Sit or stand. Interlace your fingers in front of you. Turn your palms to face away from your body. Reach your arms forward. Let your upper back round. Pull your shoulder blades apart. You’ll feel this between your shoulder blades. Hold 30-60 seconds.
Common mistake: Shrugging your shoulders up toward your ears. Keep them down.
Modification: If interlacing fingers is hard, just reach forward with both arms.
Chair-based option: You can do this sitting or standing. Choose what feels more stable.
Helpful Tip: This stretch is excellent for upper back tension. Many people carry stress between their shoulder blades. This helps release it.
Thoracic Extension (Upper Back) Stretch
Sit in a chair with a back. Place your hands behind your head, elbows pointing out to the sides. Lean back against the chair. Let your upper back extend over the top of the chair back. Look up toward the ceiling. Hold 30-60 seconds.
You should feel this in your upper and middle back. It opens up your chest. It reverses the slouched position.
Common mistake: Using a chair with a very low back. You need the chair back to hit mid-spine for this to work.
Modification: Place a rolled towel behind your back at chest level. Lean back against it.
Chair-based option: This one requires a chair, so you’re set.
Helpful Tip: Do this several times a day if you spend a lot of time reading, knitting, or doing other activities that make you hunch forward.
Thoracic Rotation (Upper Back) Stretch
Sit sideways on a chair so the back is to your right. Twist your torso to the right. Hold onto the chair back with both hands. Use your arms to gently pull yourself into a deeper twist. Your hips stay facing forward. Your upper body rotates. Hold 30-60 seconds. Then switch sides.
Common mistake: Rotating your hips. Keep your lower body still. Only your torso twists.
Modification: Don’t pull with your arms. Just twist as far as you can comfortably go.
Chair-based option: This works perfectly in a chair with a back.
Helpful Tip: This stretch improves your ability to look behind you, which is great for driving and checking your surroundings.
The beauty of these back stretches is that most can be done in a chair. You don’t need to get on the floor. You don’t need special equipment. Just a sturdy chair and a few minutes. Your back will thank you.
Leg and Hip Stretches for Better Mobility
Your legs and hips are your foundation. They carry you everywhere. When they’re tight, walking gets harder. Balance gets worse. Getting up from a chair takes more effort. These stretches change that.
Why Leg Flexibility Matters
Think about how much you use your legs. Every step you take. Every time you stand up. Every time you climb stairs or step over something. Your hips, thighs, and calves do all this work. When they’re flexible, these movements feel easy. When they’re tight, everything becomes a struggle.
Tight hips make you shuffle instead of taking full steps. Tight hamstrings make bending forward hard. Tight calves affect your balance and make your feet hurt. Taking care of your legs means taking care of your mobility.
Helpful Tip: If you can only do a few stretches each day, include at least one leg stretch. Your legs do too much work to ignore.
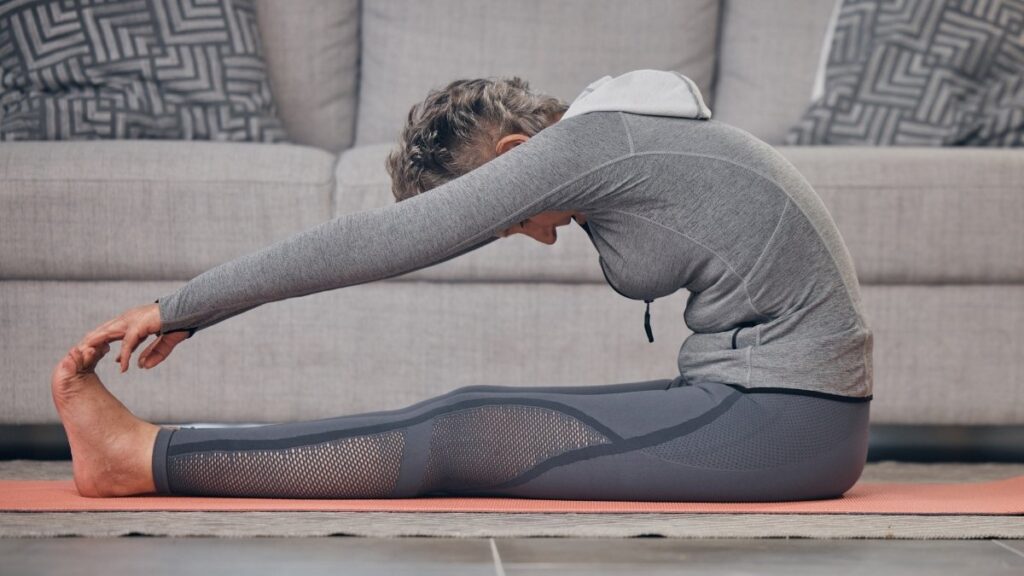
Seated Hamstring Stretch
Sit on the edge of a sturdy chair. Extend your right leg straight out in front of you. Keep your heel on the ground, toes pointing up. Your left foot stays flat on the floor. Keep your back straight. Lean forward from your hips. Reach your hands toward your right foot. You’ll feel this in the back of your right thigh. Hold 30-60 seconds. Switch legs.
Common mistake: Rounding your back too much. The stretch is better if you keep your spine relatively straight and hinge from the hips.
Modification: Don’t reach for your foot. Just extend the leg and lean slightly forward. Even a small lean creates a stretch.
Standing option: You can do this standing with your foot up on a low stool, but sitting is safer if balance is an issue.
Helpful Tip: Tight hamstrings are extremely common in seniors. This stretch helps with walking, standing up from chairs, and bending forward.
Seated Groin (Hip Adductor) Stretch
Sit near the front edge of your chair. Place your feet wider than hip-width apart. Point your toes out slightly. Keep your back straight. Lean forward from your hips. You can place your hands on your thighs for support. You’ll feel this stretch on the inside of both thighs. Hold 30-60 seconds.
Common mistake: Letting your knees cave inward. Keep them pointing in the same direction as your toes.
Modification: Don’t spread your legs as wide. Start with a narrower stance.
Chair-based option: This works great in a chair. Make sure it’s stable and won’t slide.
Helpful Tip: This stretch improves side-to-side movements. It helps with getting in and out of cars and stepping over obstacles.
Seated Lateral Rotation (Hips, Buttocks) Stretch
Sit in your chair. Cross your right ankle over your left knee. Your right knee points out to the side. Keep your back straight. Lean forward gently. You’ll feel this deep in your right hip and buttock. Hold 30-60 seconds. Switch sides.
This is sometimes called the “figure 4” stretch. It targets the piriformis and other deep hip muscles.
Common mistake: Forcing your knee down. Let it relax wherever it naturally falls. As you get more flexible, it will lower on its own.
Modification: Don’t lean forward much. Just sitting in this position provides a stretch.
Chair-based option: Make sure your chair doesn’t have arms, or sit near the edge so your knee can point out to the side.
Helpful Tip: This stretch is excellent for hip pain and lower back discomfort. Many seniors find it helps with sciatic nerve pain too.
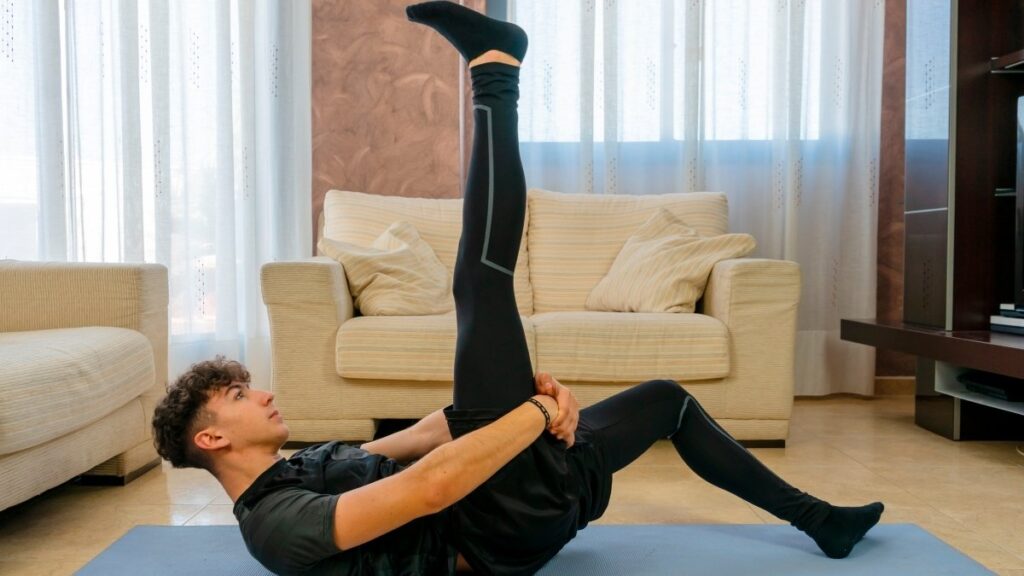
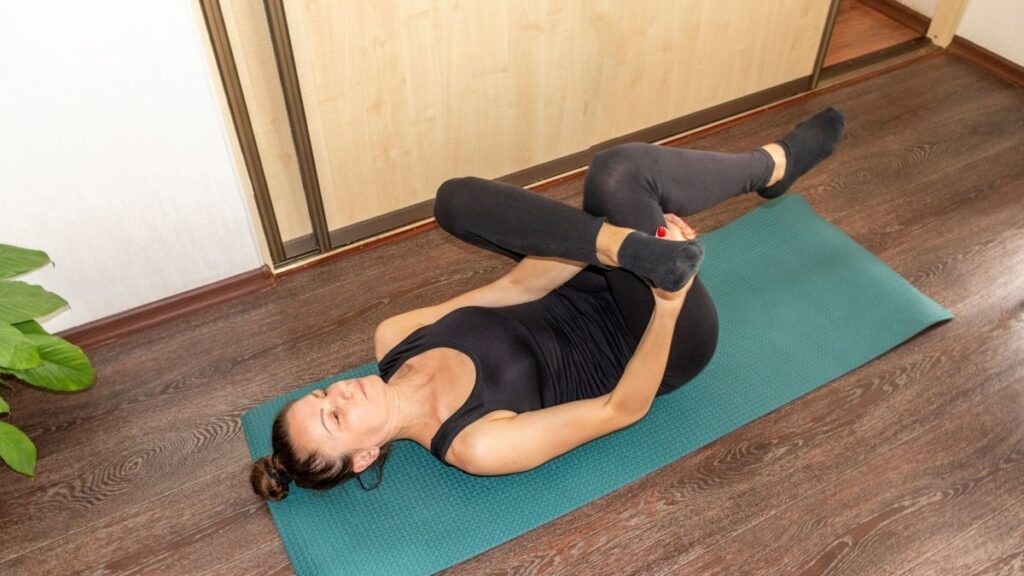
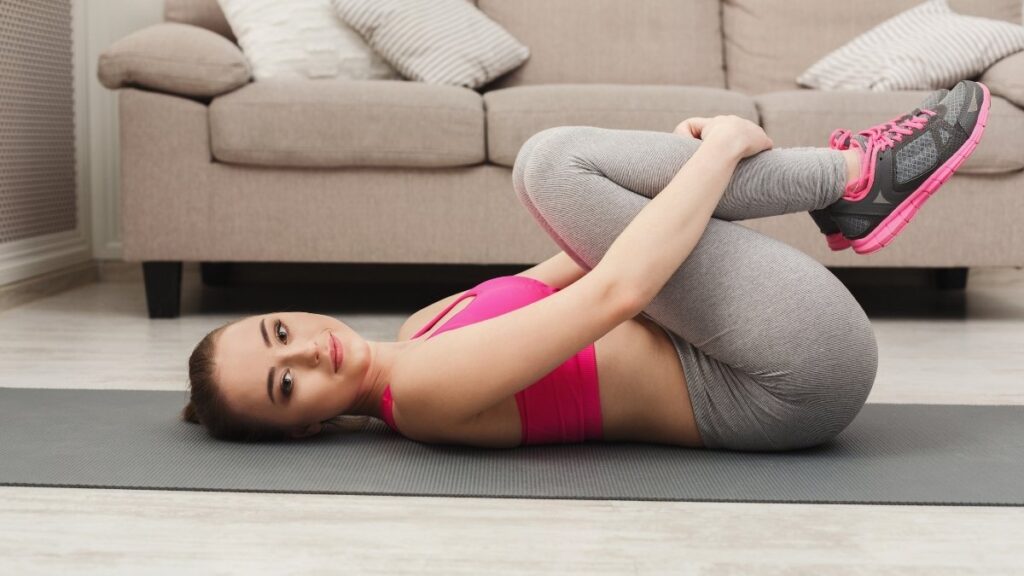
Hip Flexion (Buttocks) Stretch
Sit in your chair. Lift your right knee up toward your chest. Hold your shin with both hands. Gently pull your knee closer to your body. Keep your back against the chair. You’ll feel this in your right buttock. Hold 30-60 seconds. Switch legs.
Common mistake: Rounding your back excessively. Some rounding is fine, but try to maintain some support from the chair.
Modification: If you can’t reach your shin, hold behind your thigh instead.
Chair-based option: This works perfectly in a chair with a back for support.
Helpful Tip: This stretch helps with hip mobility for walking and climbing stairs. It also feels good if you’ve been sitting for a long time.
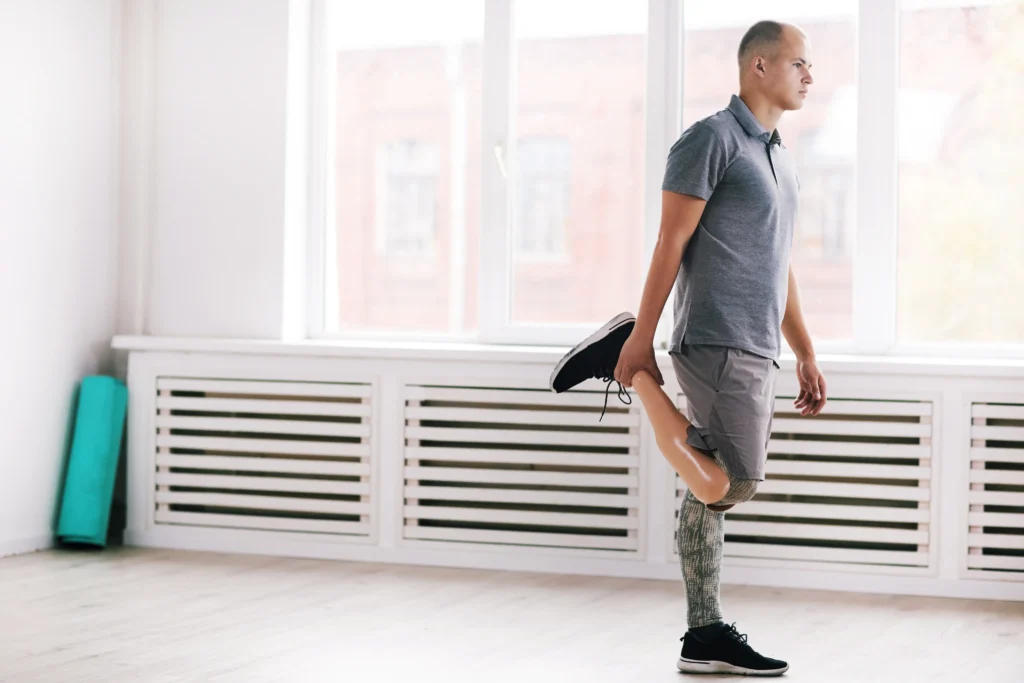
Standing Quadriceps Stretch
Stand next to a sturdy chair or counter. Hold on with your left hand for balance. Bend your right knee and bring your heel toward your buttocks. Grab your right ankle or foot with your right hand. Keep your knees close together. Don’t arch your back. You’ll feel this in the front of your right thigh. Hold 30-60 seconds. Switch legs.
Common mistake: Letting your knee point out to the side. Keep both knees next to each other.
Modification: Don’t pull your foot all the way to your buttocks. Bring it up only as far as comfortable.
Seated option: Lie on your side on a bed if standing balance is difficult.
Helpful Tip: Your quadriceps help you stand up from chairs and climb stairs. Keep them flexible and strong.
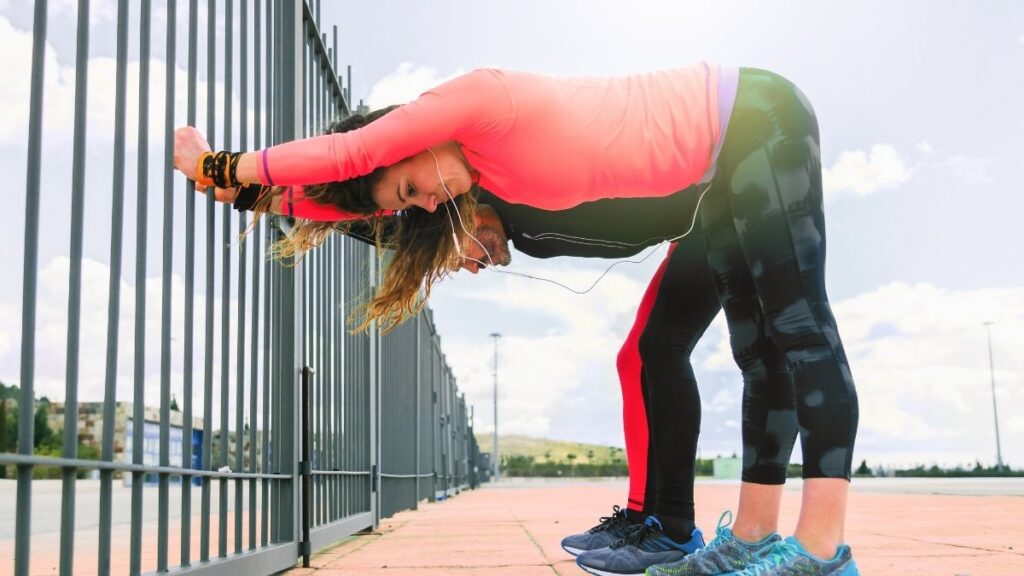
Standing Calf Stretch
Stand facing a wall. Place both hands on the wall at shoulder height. Step your right foot back. Keep your right leg straight and your right heel on the ground. Bend your left knee. Lean toward the wall. You’ll feel this in your right calf. Hold 30-60 seconds. Switch legs.
For a deeper stretch, you can bend your back knee slightly while keeping your heel down. This targets a different part of your calf muscle.
Common mistake: Letting your back heel come off the ground. The heel must stay down for the stretch to work.
Modification: Don’t step back as far. A smaller step still provides a stretch.
Seated option: Sit with legs extended. Use a towel or strap around your foot. Pull your toes toward you.
Helpful Tip: Tight calves affect your balance and can lead to foot problems. This stretch also helps prevent Achilles tendon issues.
Standing vs. Seated: Which Should You Choose?
If your balance is good and you feel confident on your feet, standing stretches are fine. They often provide a better stretch. But there’s no shame in doing seated versions. Safety matters more than a slightly deeper stretch. Many seniors do a mix. They sit for some stretches and stand for others.
Always use a chair, counter, or wall for support during standing stretches. Even if you don’t think you need it. It’s there if you wobble. Better safe than sorry.
Helpful Tip: Start your flexibility routine with seated stretches. As you improve and feel more confident, add standing stretches one at a time.
Building Your Routine
After two weeks of basic stretching, add something new. Maybe a yoga video. Maybe a Tai Chi class. Maybe a trip to the pool. Keep the stretching you’re already doing. Just add one new thing.
Remember that flexibility improvements happen gradually. You won’t wake up after one week able to touch your toes. But you will notice small changes. Reaching feels easier. Bending doesn’t make you grunt. Getting out of the car becomes smoother. These small wins add up to a big change in your quality of life.
With dedication to flexibility exercises and a personalized stretching routine, you can turn back the clock on stiffness and rediscover comfortable, confident movement. Your body wants to move well. Give it the chance.